Food Friday – Green Beans

I just love green beans. They’re one of my favorite vegetables, a favorite with the kids, and so easy to make.

Garlic Green Beans

1 lb fresh green beans – with ends cut off and broken into 1 in pieces
Water
Salt
2 cloves garlic – crushed

Put green beans and garlic in a pan, cover with water. Add salt to taste. Place on stove and bring to a boil. Turn heat down and simmer for about 15 minutes for crisp beans or 45 minutes for softer beans. My kids will only eat green beans if they’re not chewy so I just boil them longer until they’re nice and soft.

Drain any extra water and serve hot.

Food Friday – Mixed Veggies

I needed to use up a bunch of “leftover” vegetables. So I turned them into a vegetable medley. This combination of veggies was so colorful, and I love eating colorful foods.

IMG_09211 Carrot – sliced
1 Green Bell Pepper – chopped in 1/2 in pieces
2 stalks Celery – sliced
2 Green Onions – sliced
1 small bunch Cauliflower – cut in small pieces
2 small Radishes – sliced
1 handful fresh Spinach
2 Tbsp butter
Salt & Pepper to taste
Grated Parmesan Cheese

Warm butter in skillet over medium heat

Add all vegetables except for the spinach

Pan fry until veggies are to desired doneness. I like mine just a tad bit crispy still so about 7 minutes.

Add spinach and cook until spinach is wilted, about 2 minutes.

Season with salt & pepper to taste

Serve with Grated Parmesan Cheese on top.


Food Friday – Beets and Tomatoes

I had 5 giant tomatoes in my CSA box. 5. I love tomatoes. But they’re giant. No one else likes tomatoes, so when I cut one up I have to eat it all somehow. They’re delicious tomatoes and I’ve enjoyed them.

IMG_0830Tomato Basil Salad

1 medium size tomato or 1/2 a large tomato
1/4 cup cubed cheese – I used baby swiss
4 sweet basil leaves – broken in pieces

Slice tomato in squares, toss tomato, cheese, and basil together. Add a little salt, oil, or vinegar if desired. Enjoy.

IMG_0812

And I just had to show off a sliced tomato. Isn’t it delicious looking!

IMG_0799

Beets was a real stumper. I haven’t made beets since, well, ever. I’m not really fond of the taste ether so I haven’t eaten them since I can’t remember when. But, they came in my CSA box and part of the reason for getting a CSA is to try new things. I only had enough beets for 1 jar so I didn’t want to bother with canning just one jar. I decided to go with the refrigerator version.

Refrigerator Pickled Beets

3 medium sized beets
1 cup sugar
1 cup vinegar
1 cup water
2 cloves garlic – peeled and sliced
Beet juice as needed

Wash beets well and remove tops and stems. Place in a pan of water and boil until fork tender (about 25 minutes) Remove from water, peel, and slice into rounds. Place in Mason Jar.

While beets are cooking, heat sugar vinegar, water, and garlic on the stove. Simmer 5 minutes then set aside to cool.

Pour sauce over beets in mason jar. Top off with beet juice (leftover in pan from boiling the beets) as needed to fill the jar.

Put lid on the jar and refrigerate. The beets will be ready to eat in 1 week. They will keep in the fridge for 1 month or so.

Baked Bacon Recipe

I don’t know about you, but I love bacon! I especially love it in the mornings with eggs and pancakes. But, just as much as I love bacon. I hate frying it. The grease splatters everywhere!

With 3 little kids my saturday morning ends up looking like this.

4yr old climbs in bed with us at 5, husband sends her back to bed at 6. At 6:30 she’s returned to my side of the bed and wants hot chocolate. My opening and closing door has awakend the 2yr old who’s always afraid he’s going to miss something.

I get him up and head out to the kitchen with the two littlest ones. I hold the 2yr old so he doesn’t freak  out in the 1.5 minutes it takes to heat up hot chocolates in the microwave. Yes, we do this every single morning. It takes the same amount of time every single morning. And still he thinks the microwave is going to drink his milk and eat his car cup.

They sit on the couch and watch their morning show on netflix. I make coffee. I sit on the couch with them and drink my coffee (actually, I sit down, get up to make little man another hot chocolate, sit down, get up and make the middle child another hot chocolate, sit down, get up and hunt for my coffee, sit back down, and finally drink my cold coffee).

I like to do a larger breakfast on Saturdays since we’re usually pretty busy once we get going.

I decide to make bacon, eggs, and pancakes. I start the bacon on a skillet on the stove. Which means that none of the kids can pull a chair up to the counter and “help” me because of the splattering grease. While monitoring the bacon, I mix up the pancakes, convince the children that I will indeed include chocolate chips in their pancakes, get some berry sauce started on the back burner of the stove (any berry will do, and the kids love it!), and then start actually cooking the pancakes.

About this time, I hear my husband hop in the shower, and my 6yr old appears and complains about how hungry and thirsty she is. The 2yr old wants to know if she can eat her pancake now and burns her finger when she tries to grab a hot one off the plate I’m setting them on. I check the bacon, calm her down, flip pancakes just before they burn, and then get her a plate with a pancake (cut up with syrup) and tell her to sit at the table with it, not the couch.

I start cracking eggs in a bowl to make scrambled eggs, little man who is insisting on hanging on my legs by now because he’s dying of starvation (2 hot chocolates are obviously not enough to tide such a tiny fella over for even 15 more minutes), complains because a bit of grease from the bacon splattered and got him. I hand him a cooled pancake to nibble on so I can actually cook and he takes it to the couch, eats half of it, and crumbles the rest.

Husband enters the room, showered and dressed and remarks that he wishes I would not let the kids eat on the couch. Because of course, both children are sitting on the couch eating instead of at the table. The 6yr old complains again about how hungry she is, but she doesn’t want to eat until the bacon is done.

The bacon is taking FOREVER! Pancakes are done, berry sauce is done, I start the eggs. Flip more bacon. A few minutes later, eggs are done and still the bacon is cooking. I dish up plates for everyone, everyone sits down to eat and I finally finish the bacon.

Husband picks through the bacon to find the crispiest pieces. I sit down at the table and the kids all ask for something to drink… And husband suggests that we should all hurry up and eat so we can go to some yard sales.

All that to say, I discovered that I can bake bacon. It’s way easier, and give me one less thing to manage in the mornings!
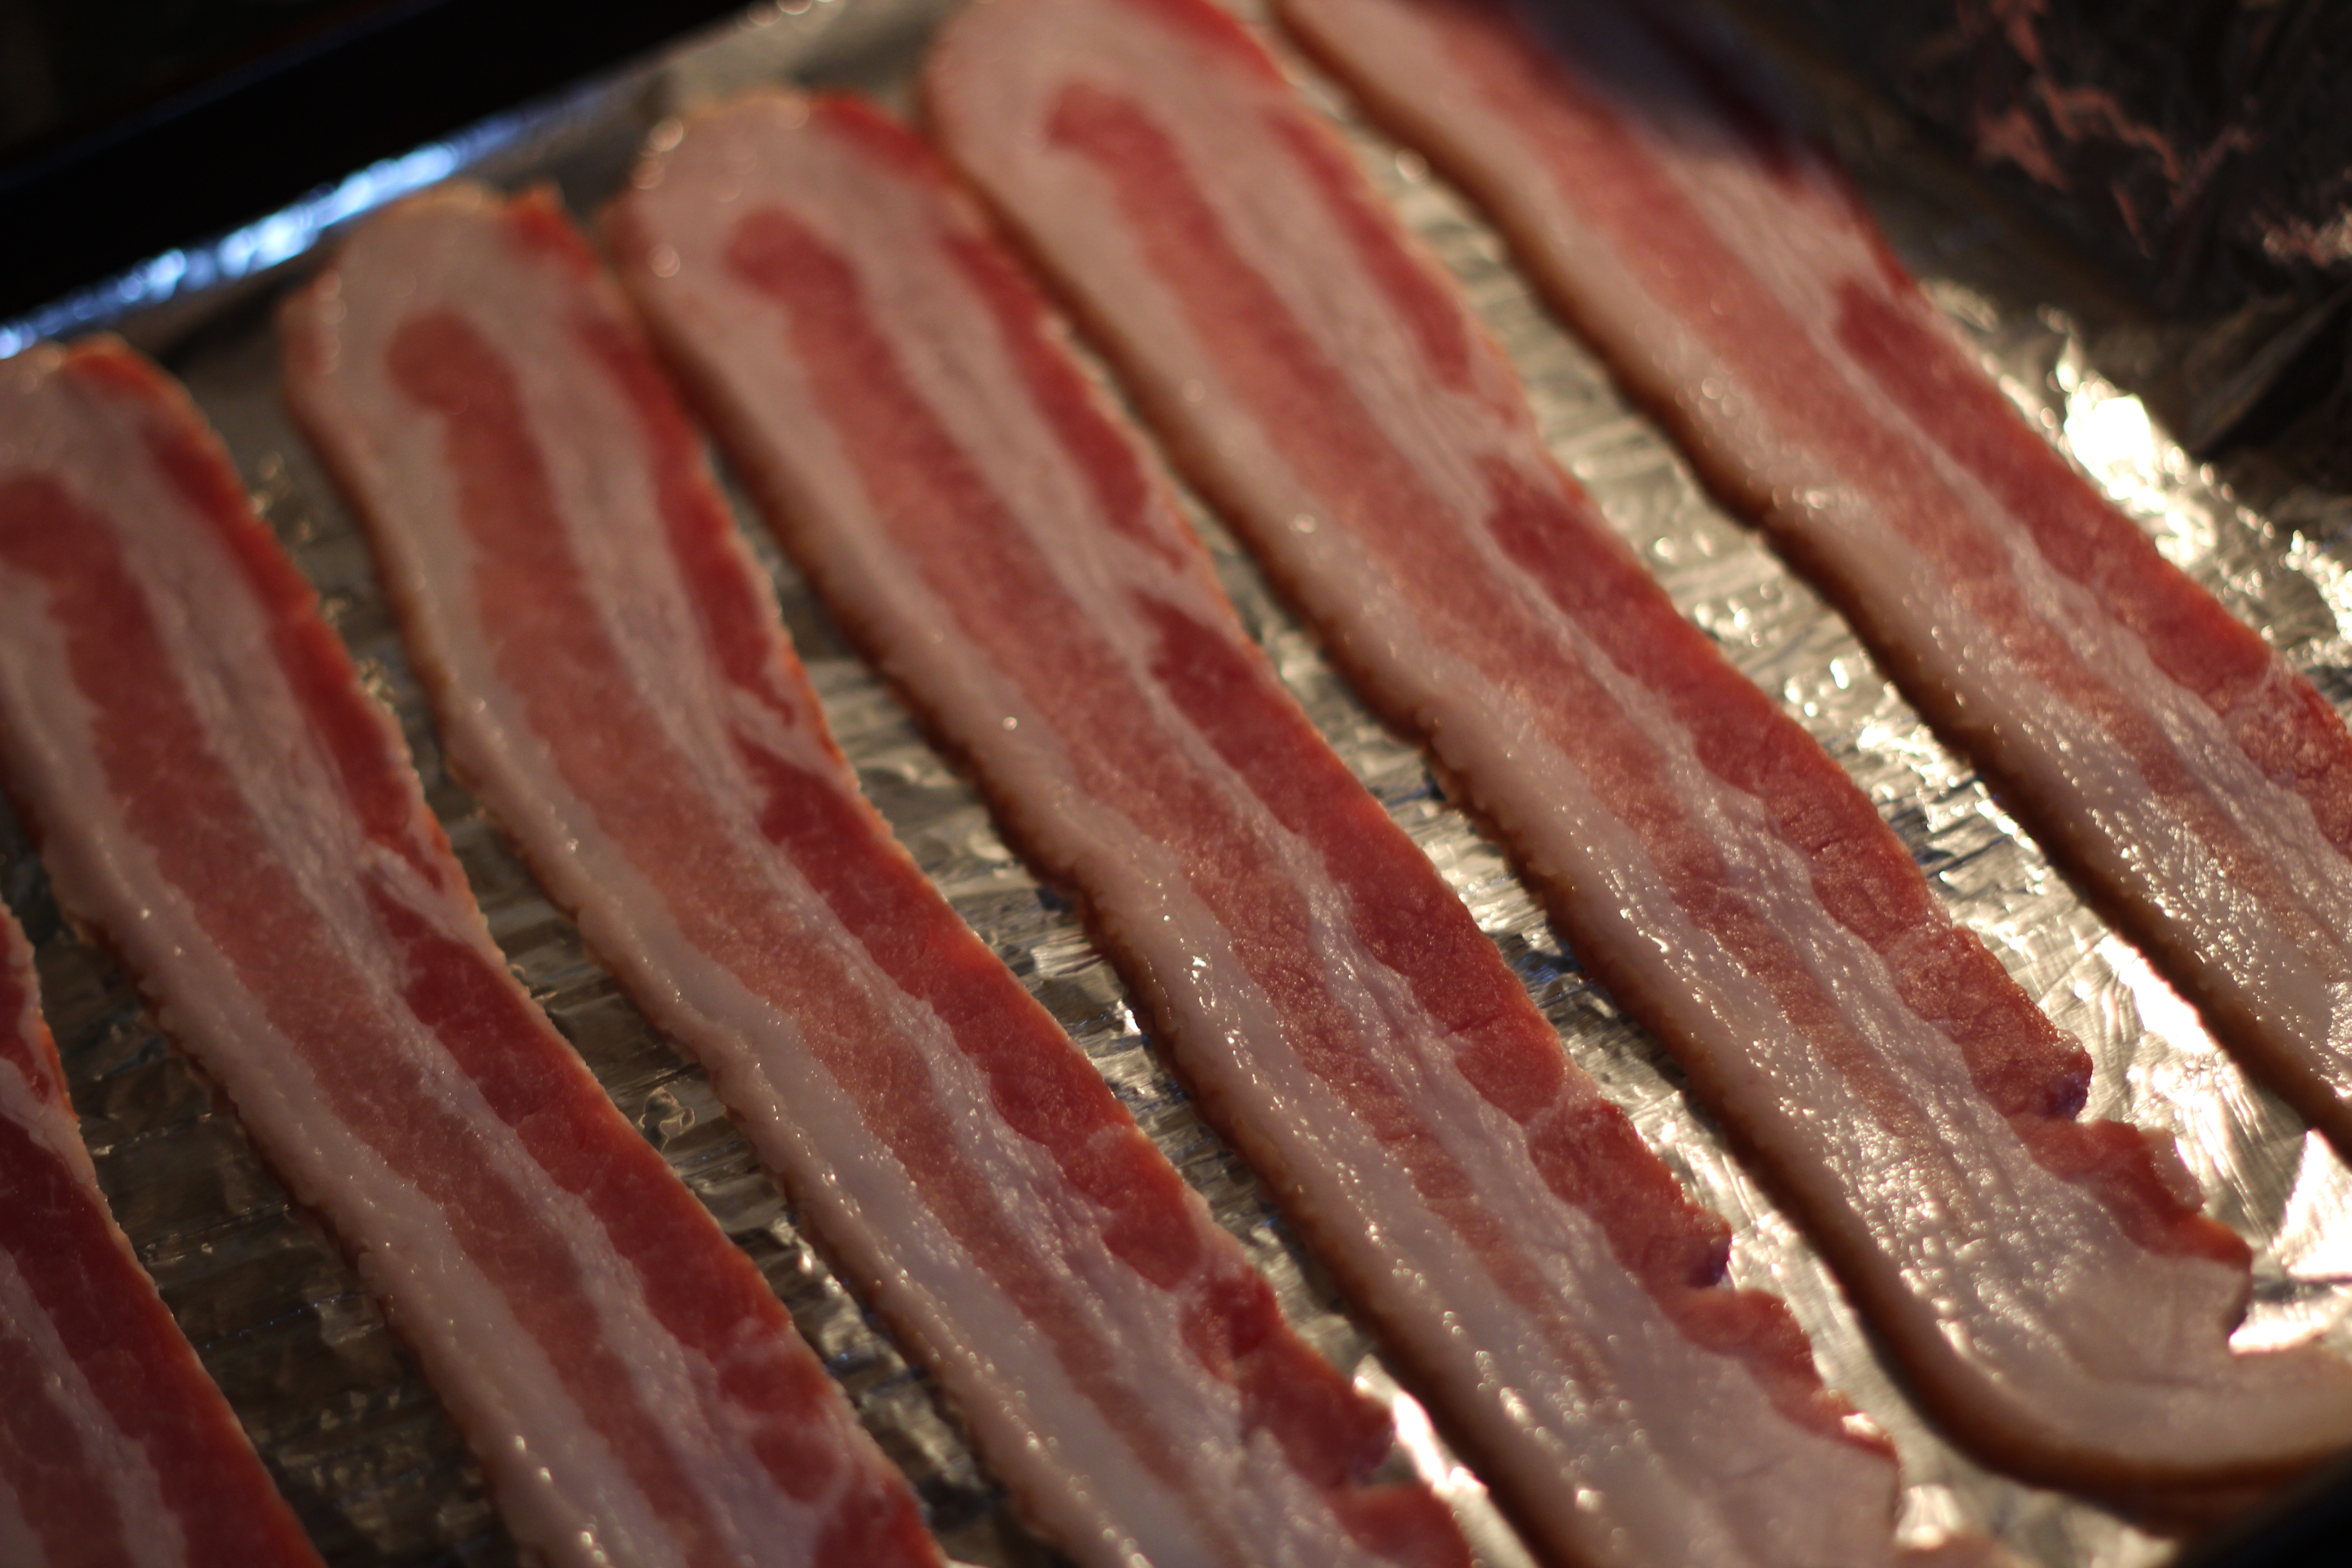
IMG_0666

Baked Bacon

Oven at 375. Line a baking sheet with aluminum foil. Spread the bacon out in a single layer and bake until done to your desired crispiness. Usually about 30 minutes for me depending on how thick the bacon is.

If you want something more than plain bacon, top your bacon with 1tbsp cinnamon and 1/4 cup brown sugar (mix them together first), then bake until done. For a delicious glazed bacon.

You’re bacon’s all done at the same time, and there’s no grease splattering all over your kitchen!


Cookie Dough Brownies

Peanut Butter Cup Cookie Dough Brownies, the title alone is enough to make me hungry! But, really, that’s a long title. I just told my family they were cookie brownies. I put those two words together and it’s guaranteed to get eaten!

This recipe was so easy! I bought cookie dough in a roll from the grocery store but next time I’ll probably just mix up my own batch of chocolate chip cookies and put them in the bottom of the pan. I never have cookie dough on hand, but it’s easy enough to whip up and the kids loved smooshing the dough down into the pan.

Cookie dough, peanut butter cups, and brownie mix, dessert really doesn’t get much better than this. The only downside to this dessert? It’s a bit rich and since it makes a 9X13 I should probably only make it when I’m having a party so I don’t eat it all myself!

Barley Bread

My 4yr old has been begging me for weeks to make her some barley bread. I think in Sunday School they heard the story of the feeding of the 5,000 and the little boy with the loaves had barley bread. My 4yr old definitely thought there must be something special about barley bread!

So, I found some barley in the cupboard the other day and decided to give barley bread a try. Luckily I have a wheat grinder so turning barley into barley flour was noisy but pretty easy.

Next, I had to find a recipe that only contained ingredients that I have on hand. Fortunately, that wasn’t too hard and this is what I tried:

Ingredients (Makes 1 Loaf)
  • 3 cups barley flour
  • 1 teaspoon salt
  • 2 tablespoons baking powder
  • 4 tablespoons sugar
  • 1/4 cup vegetable oil, plus extra for skillet
  • 2 eggs
  • 1 cup whole milk
  • Directions


    Preheat oven to 350 degrees F and lightly grease a 9 inch cast iron skillet with some vegetable oil and place in oven while preheating. (Why a cast iron skillet? It is the secret to a perfect crust.) If you don’t have a cast iron skillet then grease an 8 inch square pan and set-aside (not in oven).

    In a medium bowl, combine the flour, salt, and baking powder. Mix thoroughly.

    In a separate, smaller bowl, using an electric mixer set on medium-low speed, mix together the sugar, 1/4 cup oil, eggs, and milk. Slowly add the egg-mixture to the flour mixture until everything is just moistened.

    Pour batter into the cast iron skillet or prepared pan and bake 30 – 40 minutes, or until a toothpick inserted in the center comes out clean (internal temperature 190 degrees F. Cut into squares and serve warm.

    As you can see, it turned out light, fluffy, and crumbly, just like a cake. The barley was surprisingly mild tasting and my kids and I loved it!

    I’ll definitely be making this recipe again.

    Mac and Cheese

    Tried out my Progresso Recipe Starters Cheese sauce for supper last night – Thanks BzzAgent for letting me try this!

    I used the Bacon Mac and Cheese recipe off of the Recipe Starters can and I substituted two cans of tuna instead of the bacon bits (since I didn’t have any bacon bits on hand). It turned out delicious, my kids, husband, and I all loved it!

    It’s tough to find a mac and cheese recipe that we all like and this one was a success! I’ll definitely be making this one again!

    The hardest part for me in making mac and cheese is getting my cheese sauce thick enough without burning it and the Progresso Creamy Cheese Sauce made this so much easier!

    Progresso has some other great looking mac and cheese recipes on their website, and this delicious looking queso which I think I’ll try next time we have company over to watch football.

    All in all, this recipe was a success and I’m loving the Progresso Recipe Starters sauces! Now, should I try the tomato, garlic, or basil sauce next? They all sound so good!

    Progresso Recipe Starters Creamy Portabella Mushroom

    Trying out Progresso Recipe Starters for my latest Bzz Campaign. I love food campaigns because I get to try out new food products for free! Who doesn’t like that?

    Progresso has 5 new recipe starter sauces. Last night I tried out the Creamy Portabella Mushroom sauce and made one of my favorite meals, beef stroganoff.  I make a pretty good stroganoff from scratch. My usual recipe is more beef gravy tasting – since I start with the gravy- and progresso’s is more creamy but otherwise the flavors were pretty similar.

    This Progresso sauce made a delicious stroganoff (my husband didn’t even notice that I made it different than usual), and it simplified the process just a little.

    I’m not sure that I’ll make beef stroganoff this way all the time since this is a tad more expensive than my usual method but it’s great for a special occasion!

    Progresso has some great recipe ideas on their website as well so I’m looking forward to trying out their other sauces and probably the mushroom sauce in a different recipe as well. Since I love mushrooms!

    I bought the cheese sauce when I was at the store the other day so I’m going to try mac and cheese next. We all like our mac and cheese different ways and I have yet to find a mix or recipe that we all like. Maybe this will be the one 🙂

    Sugar Cookies

    Here’s the first of my favorite holiday snack recipes.

    I’ve been hunting for a decent sugar cookie recipe for years. I finally found one a few months ago. It was in an old Better Homes and Gardens Cookbook that I picked up at a yardsale about a year ago.

    I’ve made it several times and it turns out right every time 🙂 Maybe I’m just really picky about my sugar cookies but I’m really happy to have found this recipe!

    Sugar Cookies
    2/3 cup shortening (I usually use 1/3 cup butter and 1/3 cup shortening – the shortening is necessary for the right texture)
    3/4 cup sugar
    1 tsp vanilla
    1 egg
    4tsp milk
    2 cups flour
    1 1/2 tsp baking powder
    1/4 tsp salt

    Thoroughly cream shortening, sugar, and vanilla. Add egg; beat till light and fluffy. Stir in milk. Sift together dry ingredients; blend into creamed mixture.

    I form 1in balls, roll them in sugar and then use my thumb to press them flat in the center (makes a slight well for icing).

    If you want to roll them, divide dough in half, chill for 1 hour. On lightly floured surface roll to 1/8 in thickness. Cut with cookie cutters.

    Baking instructions are the same for balls or shapes. Bake on greased cookie sheet at 375 about 6 to 8 minutes. Makes 2 dozen.

    Apple Pecan Cake

    I tried out this cake recipe yesterday. Unfortunately, I sent it to work with my husband before I got a picture. However, it was delicious, easy to make, and contained all ingredients that I keep on hand so I’m going to post it without a picture.

    I got this recipe out of this month’s Everyday Food magazine. This is my favorite cooking magazine. Most of the recipes contain ingredients that I can identify and the recipes are not too time-consuming to make. A must with little kids!

    This recipe did use a large number of bowls, which my kids appreciated since they got to lick out every one of them 🙂

    Apple-Pecan Cake

    1/2 C unsalted butter, at room temperature
    1 medium apple, peeled and diced
    3/4 C pecans, chopped
    2 1/2 C all purpose flour (I used 1 1/2 C all purpose flour, and 1 C wheat flour)
    2 t baking powder
    1 t nutmeg (I did not add this – I don’t usually like the aftertaste of nutmeg)
    1/4 t salt
    3/4 C unsweetened applesauce
    1/2 C plain yogurt
    1 1/3 C sugar
    1 t orange zest
    3 large eggs
    confectioners’ sugar for dusting

    1. Preheat oven to 350. Butter a 9in square pan. Line with parchment paper, butter parchment. In a med bowl, toss apple and pecans with 2 T flour to coat. In a large bowl, whisk together remaining flour, baking powder, nutmeg, and salt. In a small bowl, combine applesauce and yogurt.

    2. In another large bowl, using an electric mixer, beat butter, granulated sugar, and orange zest on high until light and fluffy, 3 min, scraping down bowl as needed. Beat in eggs, one at a time, until combined. With mixer on low, add flour mixture in three additions, alternating with two additions applesauce mixture, and beat to combine. Fold in apple mixture. Transfer batter to pan and smooth top.

    3. Bake until golden and toothpick inserted in center comes out clean, about 50 minutes. Let cool in pan on a wire rack 20 min. Using parchment, lift cake from pan. Dust with confectioners’ sugar before serving.