Fall Break

As a homeschooler I don’t usually plan to officially take fall break. I usually plan something the week before or the week after because there’s no crowds on those weeks.

This year, however, with no extra curricular activities, no co-cop, and everyone talking about fall break. My kids decided that fall break was a must. We were needing a break anyways, so I got a lot of organizing and cleaning done around the house, and since the weather was beautiful the kids spent a lot of time outside.

Really, if I’m going to take a fall break, this is the way to do it. So, what did we do?

1. I replaced my huge desk with something smaller. This desk took me several hours to build but it was totally worth it. My previous desk was pretty flat and not well designed for how I like to use a desk.

This one is great. Things are way more organized. And I’ve gained several square feet of space in my den. Horray! I’ve been working this year to clean some things out and better organize. I have a few more things I need to swap out in my den and then the room will be way more organized and useable.

With all the building and moving, and organizing, this took up two days of fall break. The kids took my boxes that my desk came in and hung out in the yard making posters, boats, beds, houses, and all sorts of other things. They’ll probably get another week of play out of these boxes before they are destroyed and I throw them away.

img_20161014_141456900
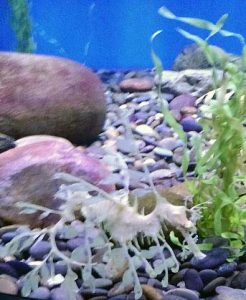
2. We met friends at the Aquarium one day this week. The kids had a blast looking at fish, petting crabs and jellyfish and watching the divers feed the fish and such. Plus it was lots of friend to see some out of town friends again.

I have promised the kids another trip to the aquarium this winter because they want to go back – and they have discount days for locals sometime in January.

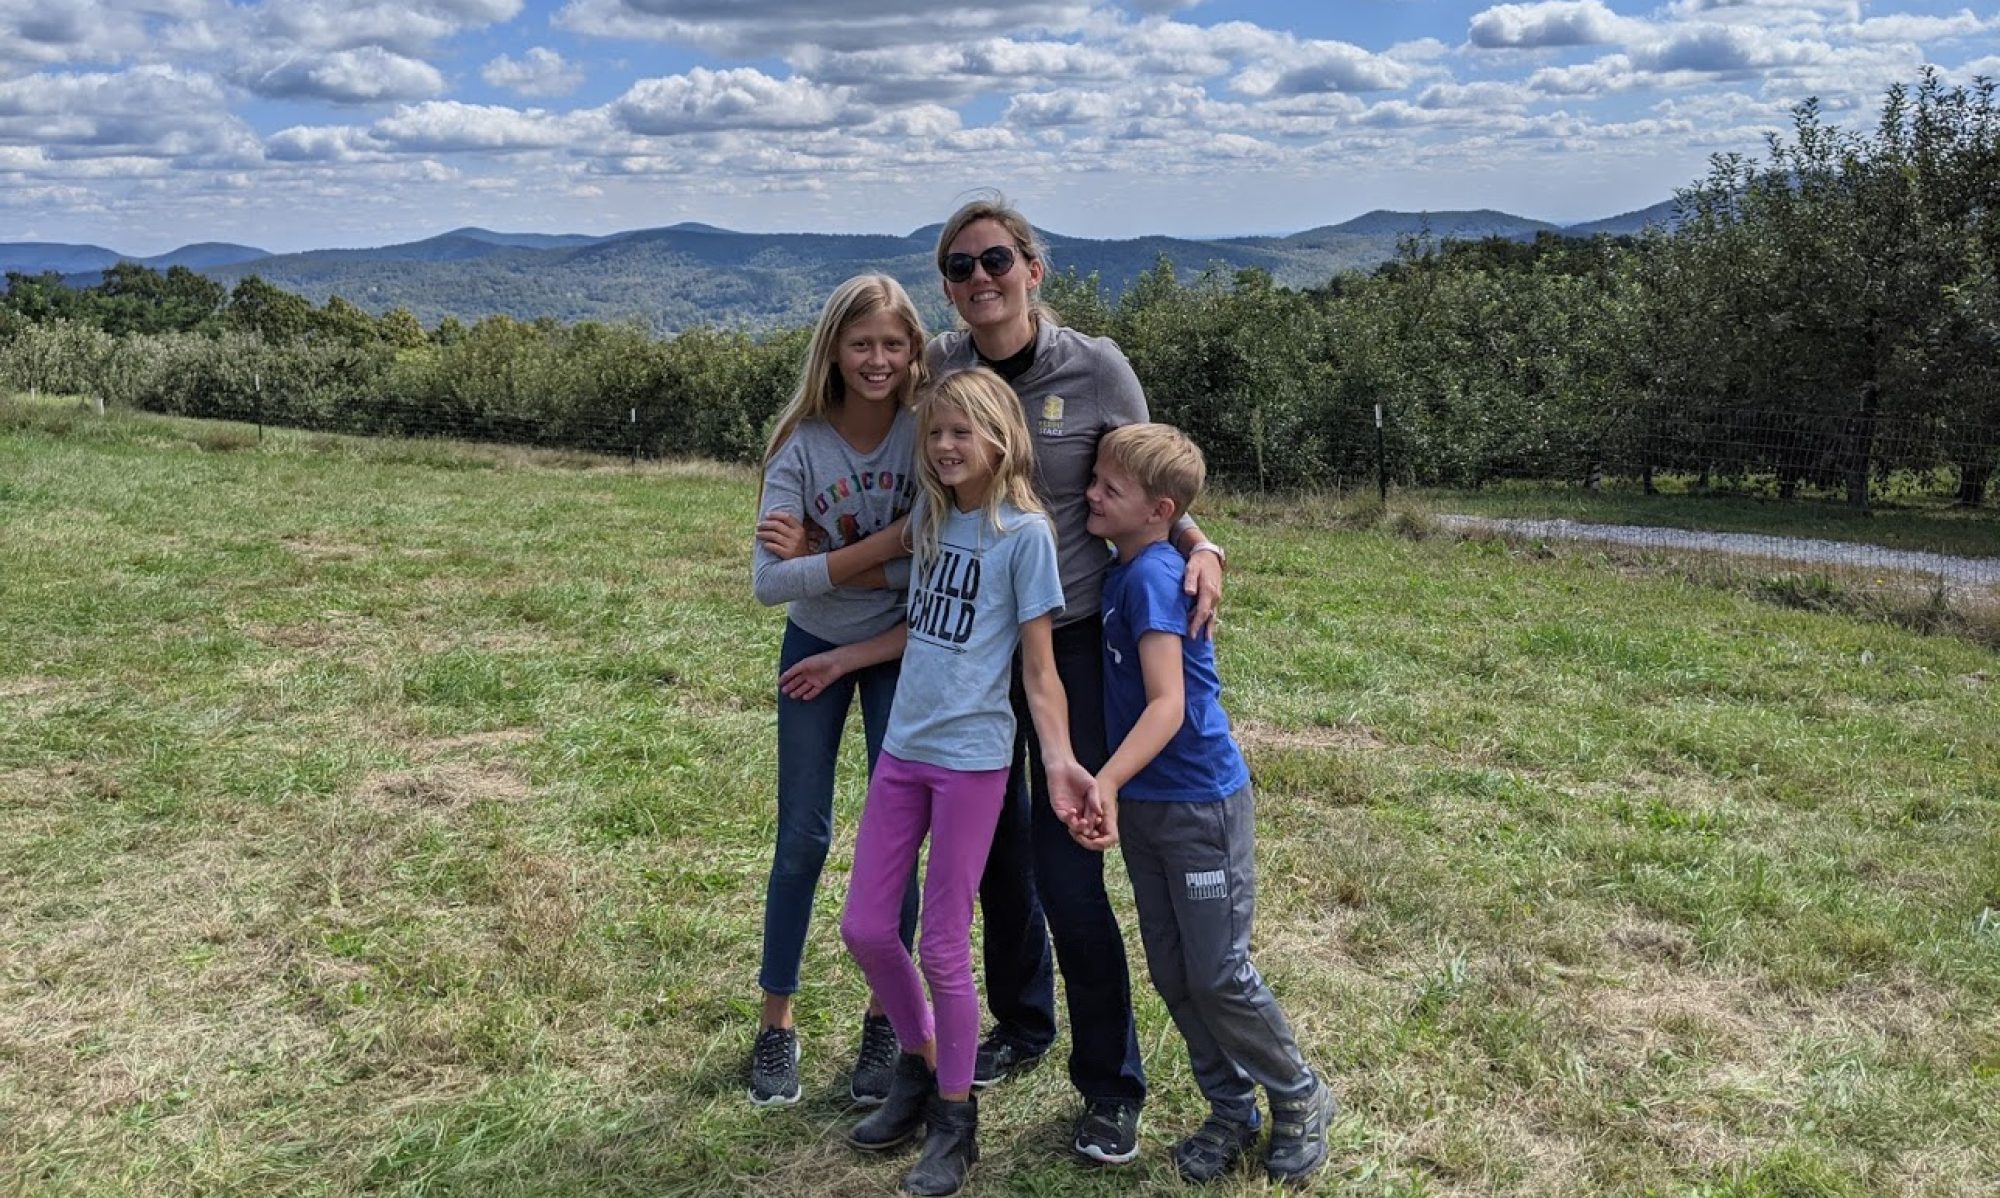
3. The kids played outside a lot! The weather was beautiful this week. Dry, and in the 70s. Just perfect for playing outside all day. The kids spend every minute they could outside, which aside from being good for them, also means they didn’t mess up the house that much and it was way easier for me to get things cleaned up and organized.

I’m also loving having the windows open and airing the house out after a really hot summer!

What did you do for fall break?

This post does contain affiliate links.

Rentailor – Rent That Fits

logo-whiteonblue

I’ve been on both sides of the rental process. Both as renter and as landlord. And many of the frustrations in this process can be solved by making it easier for renters to find my property and submit an application to view or rent.

Being a landlord is frustrating. But, let’s face it. I hate being a renter even more. My husband and I have been discussing purchasing a new home, and top of the discussion list is how we avoid having to rent during this process. So many of our friends have had to rent for a month or so while they were between houses. Or they sell their house, rent, and then start looking for a new home. The one thing we really want to avoid is renting. Why? Because it’s so frustrating.

I have to call each apartment complex for details, fill out their application, have my credit run a gazillion times, and eventually finally get to look at apartments (or houses).

I know as a landlord, people looking at my houses really don’t want to fill out and pay for ANOTHER credit check, because they’re getting tired of filling out all that paperwork. Plus, paying for application after application is just expensive.

So, here’s where Rentailor comes in, and solves this problem:

  1. Run your credit once. You only have to fill out a credit and rental application once. Once approved, you enter what you’re looking for and look at available rental properties on their site. If you see something you want, you click a button to contact them and submit your application, which has already been processed. No need to fill out more paperwork for every single place you might want to rent. You can submit your application to multiple properties with just a few clicks.
  2. Properties bid for you. Property managers can see your application, and if they have a property that they think you’ll like they can make you an offer. Not only are you looking for something to rent. Property managers are looking to rent to you. Rentailor is all about helping you find what you want for the price you want.
  3. Pay rent online. Once you find your property, Rentailor has a secure online system that you can use to pay your rent online. So even if you’re renting from a private owner or smaller company that doesn’t have an online system, Rentailor has you covered.
  4. Don’t see anything you want, you can ask Rentailor to help you out. They already have your application and can help you find the property that you want to rent.

Rentailor takes the frustration out of renting.

Check them out on Facebook, Twitter, Google+, and YouTube as well!

Healthy Baby Home Party

Thanks to Seventh Generation for this awesome, free, home party! This party box had tons of great Seventh Generation products for me and for my guests!

Seventh Generation is all about high quality, natural ingredients, and being honest and upfront about what’s in their products. The more products I try from this brand, the more I love it!

IMG_20160428_125341451

For starters, this dish liquid, diapers, and baby wipes. I love that the diapers and wipes are free and clear. My little guy has sensitive skin and I have to be careful what brands I use for him. He has no trouble at all with these Seventh Generation products.

I love the wipes, they’re thick and soft as well as fragrance free. Which means that I can comfortably use them for cleaning little faces and hands when on the go.

My favorite item of these 3 though is the dish detergent. It smells so good! It smells like I’m going to the spa every time I do dishes!

IMG_20160428_125826949

Speaking of the dish detergent. It was one of the samples included in my box. I was so excited to share this awesome dish soap with my guests!

Also included was Seventh Generation laundry detergent (which I’m also currently reviewing – so look for a post soon about this product), baby wipes (Seventh Generation seriously needs to sell a big box of these individual packs, they’re so convenient to just have in my purse), Zarbees baby cough syrup (seriously the best! I keep this stuff on hand in the winter), wildflower seeds, coupons, a bingo game, and mighty mealtime toddler meals. Plus some pretty cute brown bags so everyone could easily take their samples home.

I ended up combining my party with Mother’s Day. We were already having a bunch of people over and what better way to celebrate Mother’s Day than sending every mom home with an awesome sample bag?

IMG_20160428_125456055

And last but not least, bobble was one of the party box sponsors and they sent a Bobble Infuse water bottle (and lots of coupons for my guests). I love that the bobble water bottles have a charcoal filter. This way I can easily drink any tap water or water fountain water without having to worry about how clean the water actually is – it’s not recommended for other waters since the filter is just designed to remove impurities from tap water.

My husband stole this water bottle. He’s all about filtered water and was so excited that there’s a water bottle with a filter!

I received these products free for purposes of my review. All opinions are my own.

This post does contain affiliate links.

Colored Eggs

Ingredients
1. Eggs
2. Water
3. White Vinegar
4. Food coloring
5. Lemon juice

First step is to hard boil your eggs. Place the desired number of eggs in a pan (I usually throw in a few extra because one or two usually crack), fill the pan with cold water just to cover the eggs. Bring to a boil on the stove and boil for 5 minutes. Turn off stove and let cool. If you’re in a hurry you can drain off the hot water, fill the pan with cold water, and repeat until the water is no longer pouring out hot – I always find that this method will crack an egg or two so I try to just wait if I can.

Fun with the Eggs

Egg coloring (per color)
2/3 cup hot water
2 Tbsp white vinegar
Food coloring

Combine the water and vinegar in a small bowl – make sure it’s big enough to put your egg in it – then add food coloring until you reach your desired shade. The vinegar helps set the color so you get a much more vibrant color.

After all your colors are mixed gently place the egg in a color and let it soak until your egg reaches the desired shade.

Be creative, there’s lots of ways to make speckled or designed eggs.

1. Wrap a rubberband around your egg before soak it for a crazy striped egg
2. Wrap a small piece of lace around your egg before soaking for a fancy design – this method also gives you a little “handle” for your egg so it’s a lot easier for kids to dip and soak the eggs
3. Dip half the egg in one color and half the egg in another color
4. Dye one color and then paint with another – the kids love this too! You can make special egg “paint” with less water and vinegar and more food coloring.

I like to dry my eggs on my cookie racks set over a stack of newspapers or paper towels. Remember, food coloring stains, so don’t get it on anything you don’t want colored.

Cleanup

Now, for the lemon juice. If your kids are like mine, their hands are now multi-colored. Lemon juice is great for removing color from little fingers! I just gave mine a small bowl and they pre-washed their hands with lemon juice before actually washing their hands with soap and water. Didn’t remove all the color but it got way more off than just soap and water.

Valentine Hearts

IMG_20150302_142241017
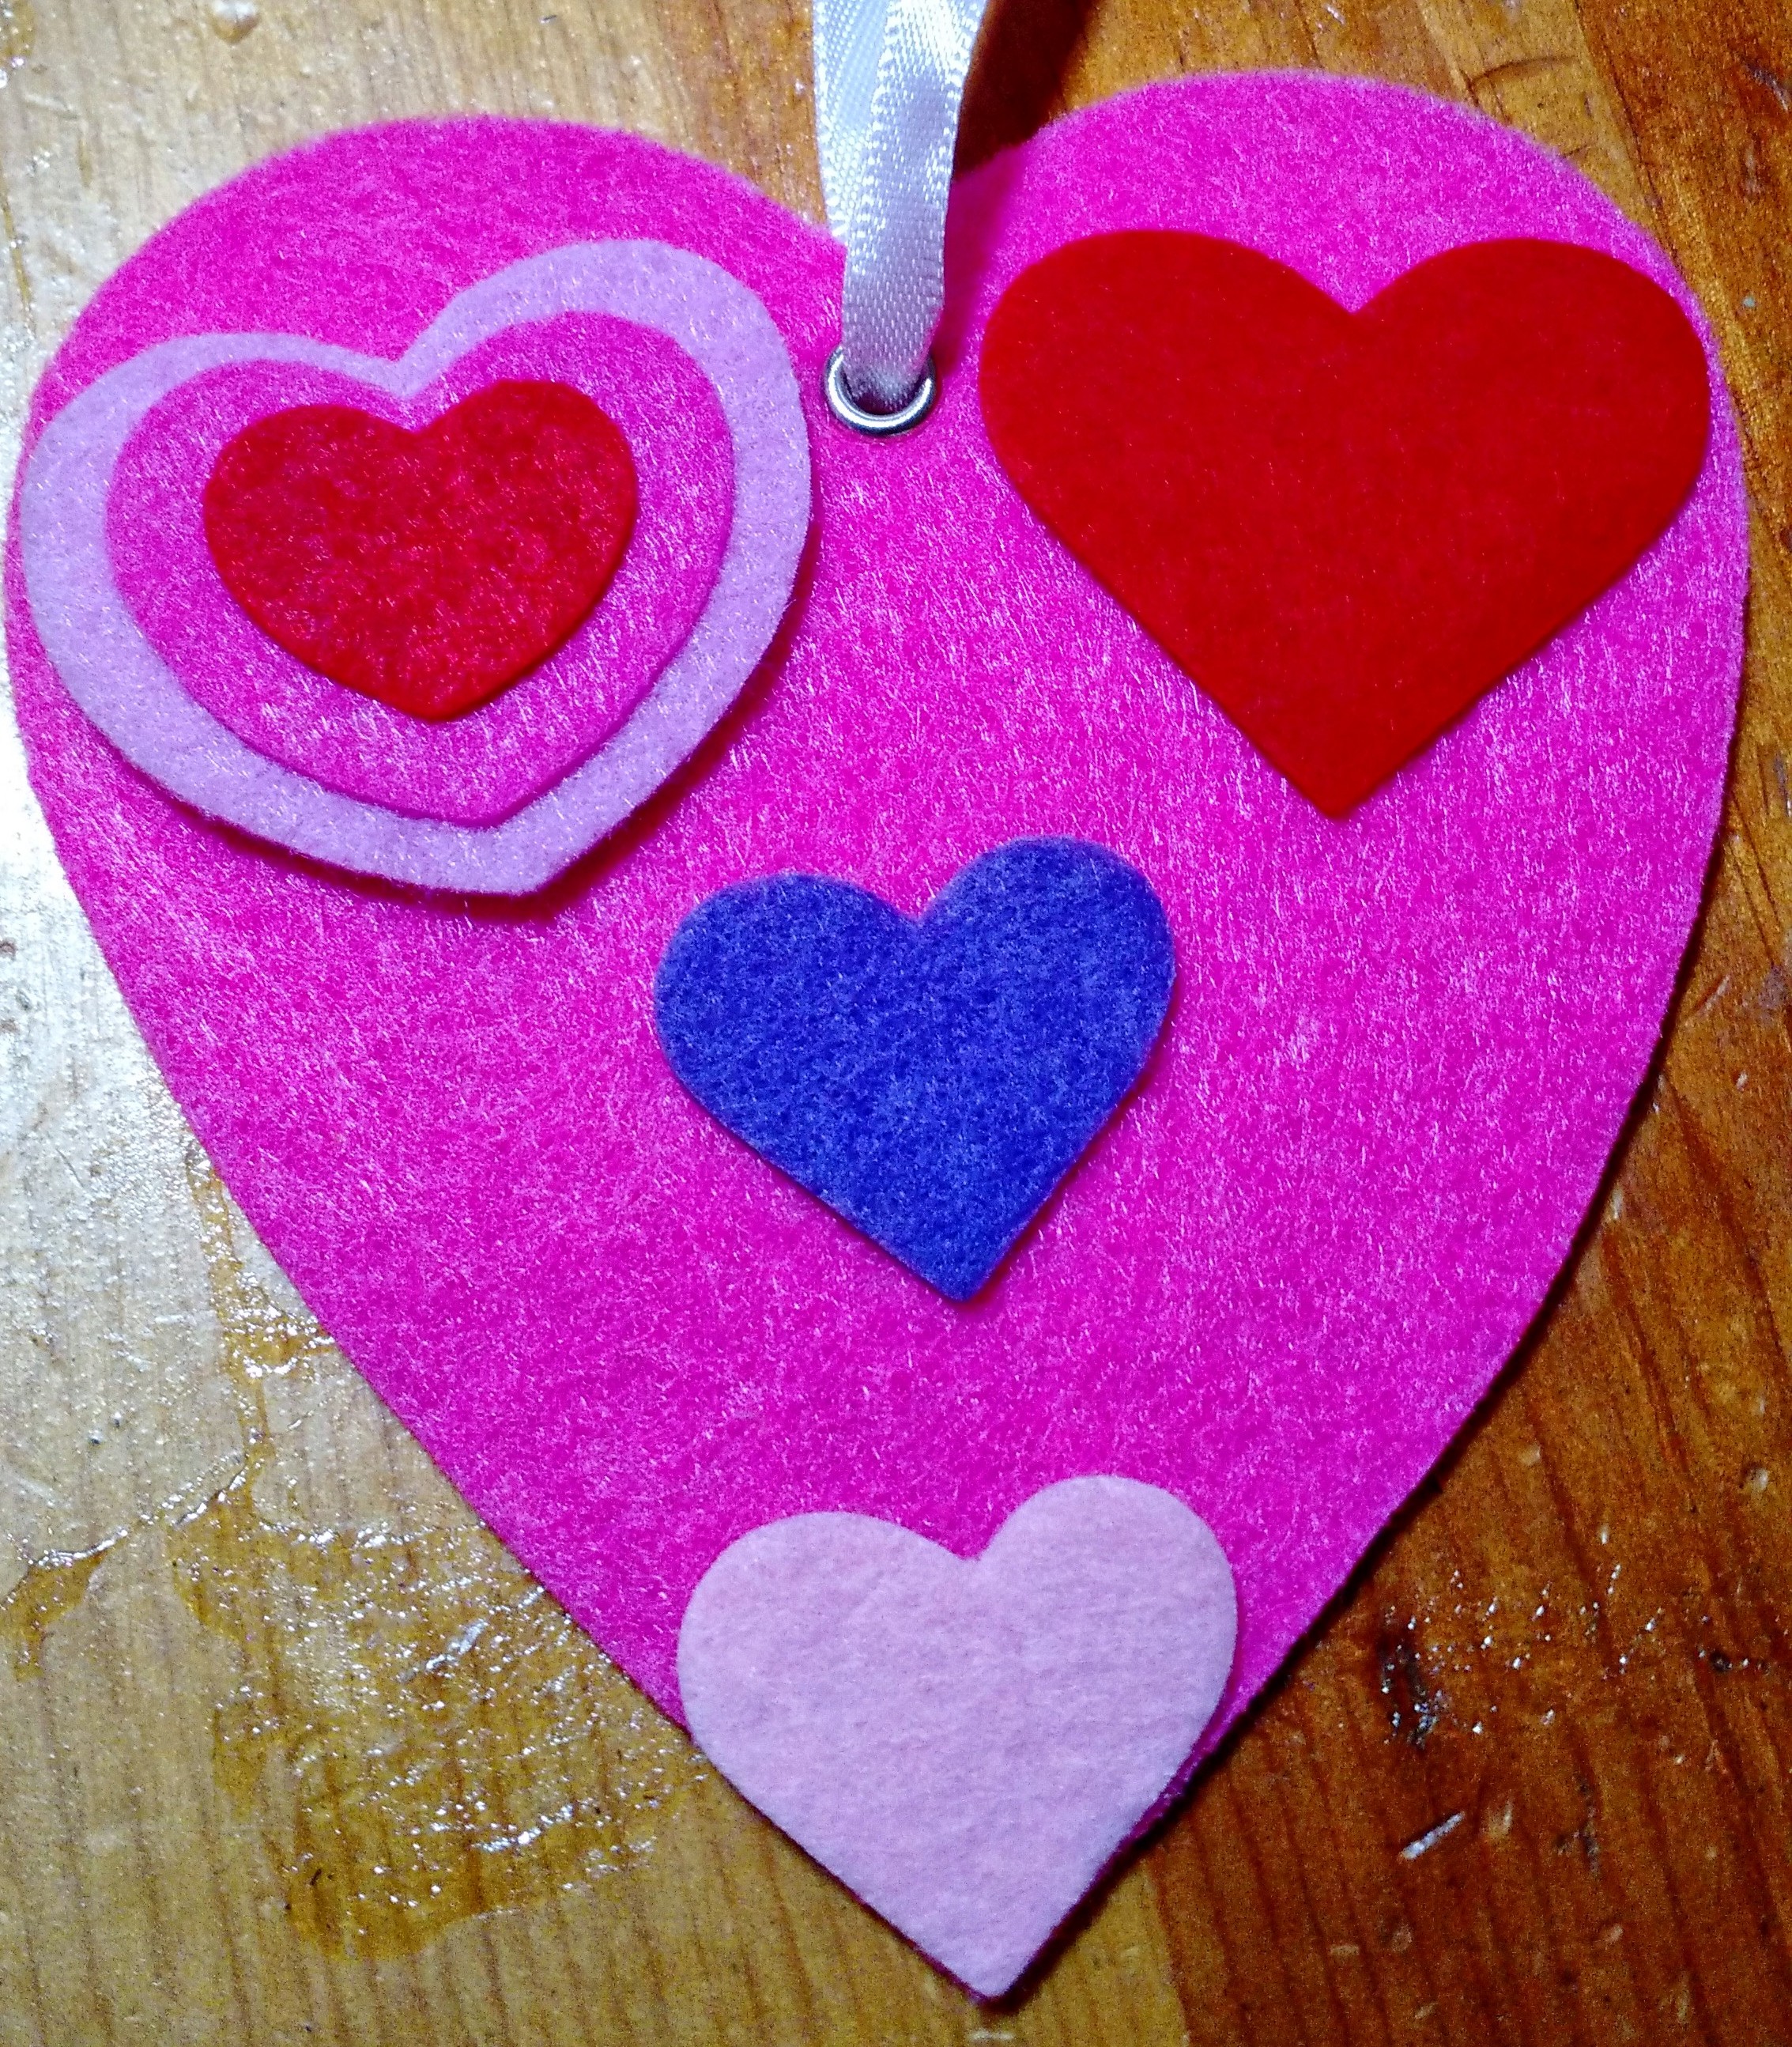
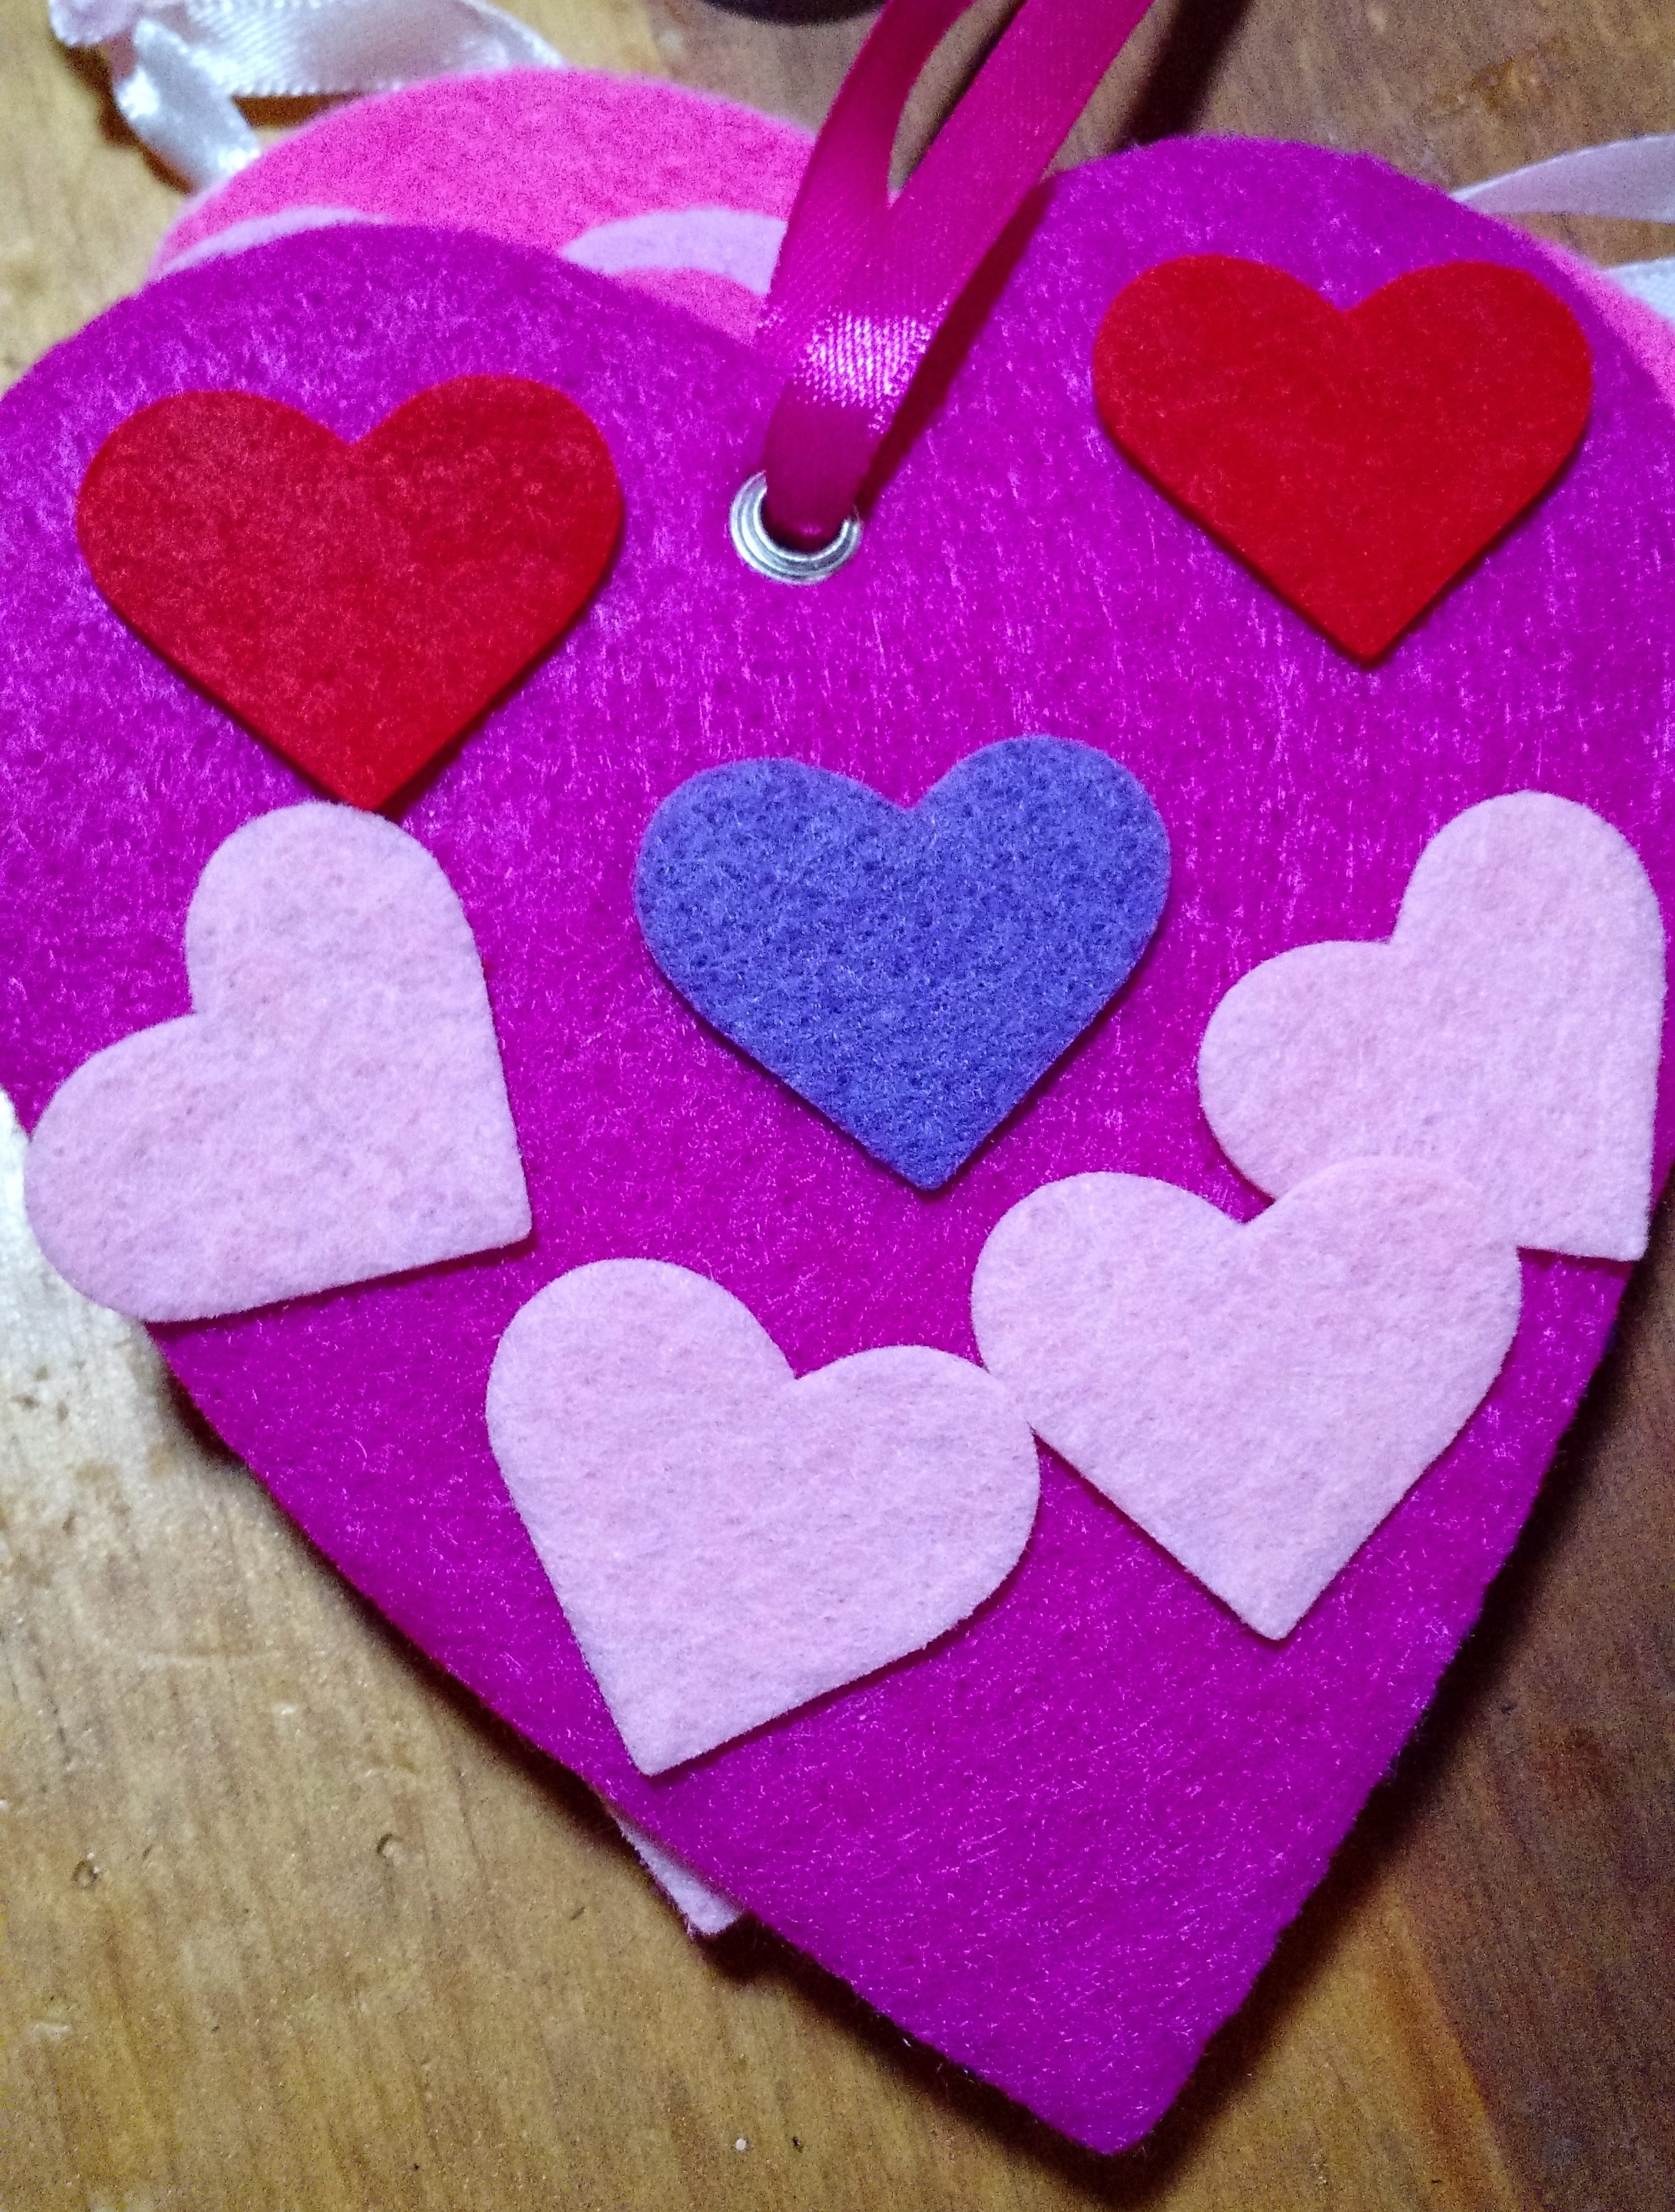
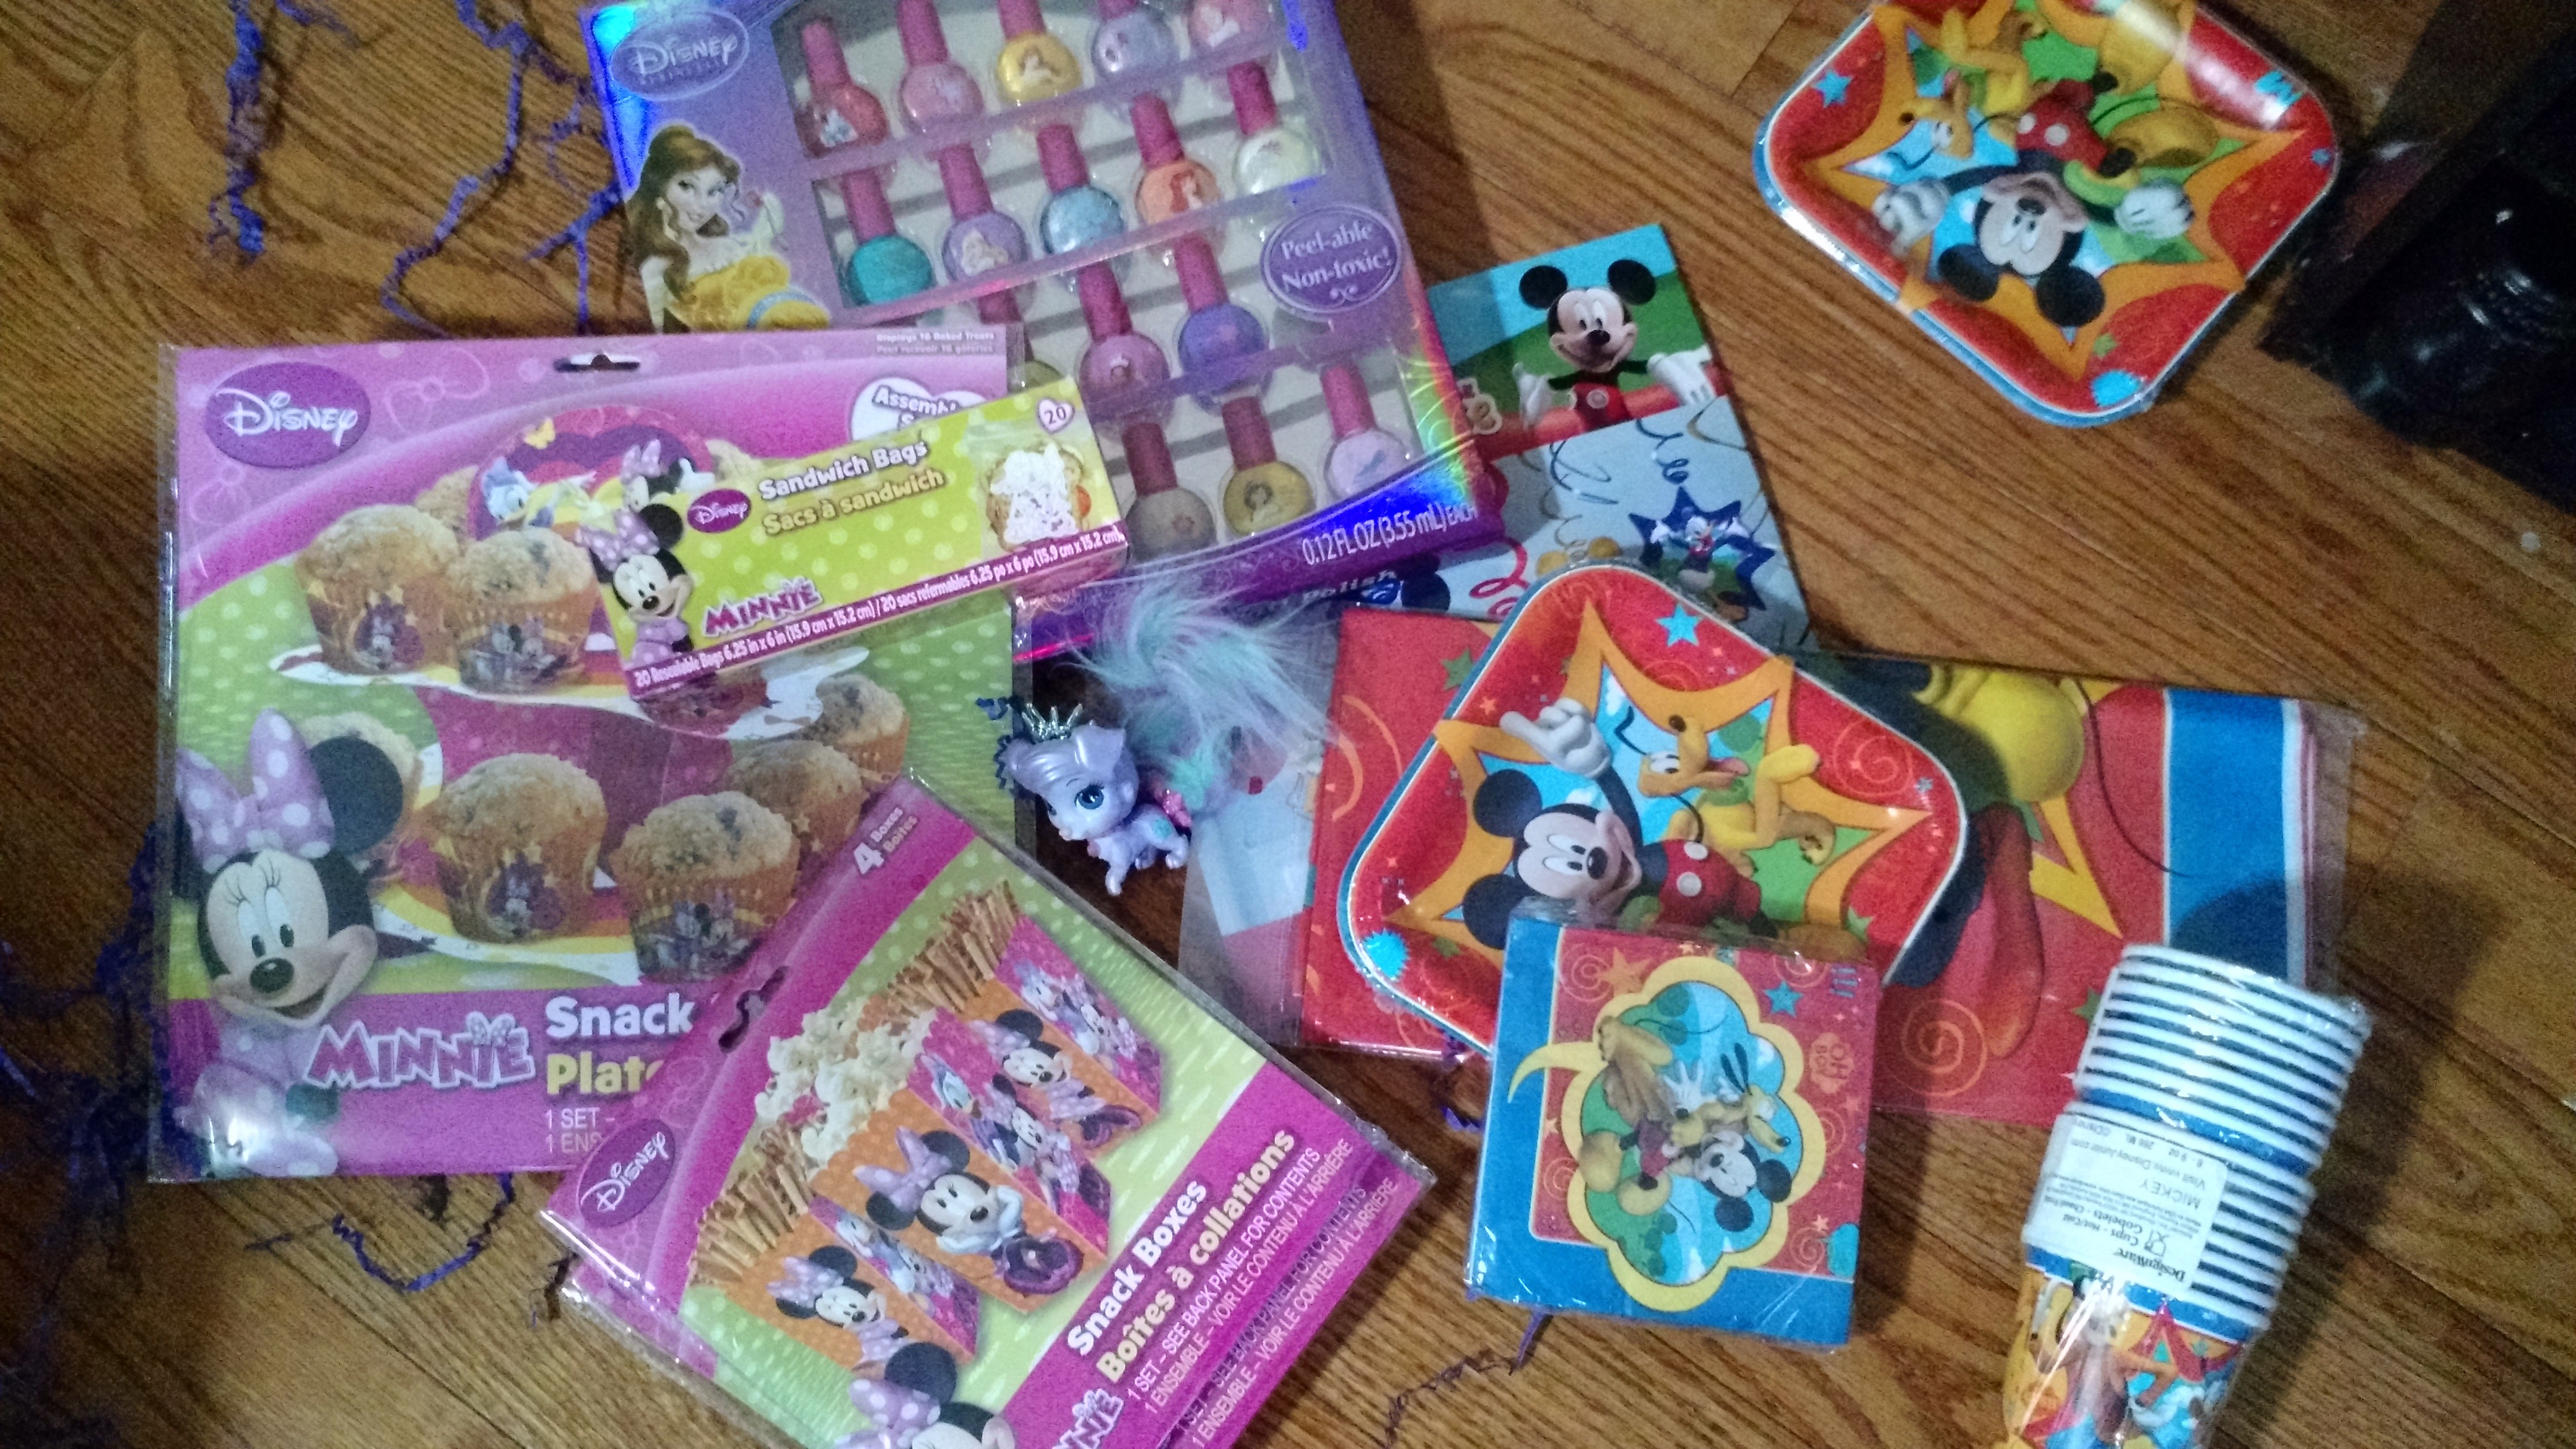
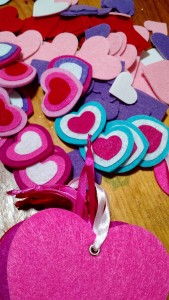
Valentine crafting with kids is always fun. For this project, I decided to keep it simple. I went to Hobby Lobby and bought some felt hearts and some felt heart stickers and the girls made their own valentine creations.

I just dumped all the stickers out on the table and let the girls create whatever they wanted. They got pretty creative, even making a smiley face heart!

These are such cute little hearts, perfect for including in teachers valentine gifts or giving to friends instead of paper valentine cards!

A tad more expensive than paper valentine cards but by the time you buy candy to go with the cards, these end up costing about the same.

I will admit though, we did still end up giving paper cards and candy to friends – because the girls just had to give candy – and special friends and teachers were given the felt hearts.

IMG_20150302_142533241 IMG_20150302_143103451

Graham Cracker Houses

Instead of gingerbread houses – which are way too much work with kids – we make graham cracker houses.

We invite a bunch of friends over and make graham cracker houses. I usually build a bunch of houses the morning before the party so they’re dry and ready for candy when the kids arrive.

Ingredients

Graham crackers
Powdered Sugar
Water
Candy or other toppings of your choice

Small candy’s are best. Red hots, mini pretzels, mini candy canes, grated coconut, mini chocolate chips, sprinkles, etc.

For the icing/cement I mix two cups of powdered sugar, and 1 Tbsp of water. Add more powdered sugar or water as needed to get a thick spreading consistency. I like to put my icing in a plastic sandwich bag, cut a tiny hole in one corner, and then pipe the icing out. The kids prefer to mix it in a bowl and then use a spoon to spread the icing everywhere – including their houses.

Graham cracker houses are really easy, and a great holiday party idea if you have kids (or if you just like playing with candy and icing)

Here’s my house.

Side of my house

One of the kids houses. It looks like a tent to me. They made many other houses as well. The party is always so much fun. Just warn parents ahead of time that there will be lots and lots of sugar! I always make a couple crockpots of chili and meat balls so there is protein to balance out some of the sugar.

And, a melting house. This batch of icing was a tad thin and ended up slipping but I think it looks pretty cool!

And, as a plus, these houses are just as much fun to eat as they are to make!

League of Little Laughers Play Date

Thanks to Bright Starts for such a fun party pack! They sent a giant box of toys for me to host a “League of Little Laughers” Play Date with friends. We had a blast!

Because this was around the holidays and I hosted Thanksgiving at my house this year, I ended up hosting two smaller playdates because I just didn’t have the time for a giant playdate.

Bright Starts sent some truly awesome toys for the kids to play with.

IMG_20151120_173046055

This little guy is called a “Giggable” and he’s so cute. My 2yr old just loves him, because he loves dogs. It’s so cute it rolls, wobbles, and barks. Really it’s the perfect toy for 2 or more toddlers to roll back and forth to each other.

IMG_20151120_173058558

This Learn & Giggle Fish was very popular at both parties. Everyone had to play with it! As far as noise level goes, for a toy that plays music constantly, it’s really not bad. The buttons light up and the kids loved trying to see if they could get all the buttons to light up at the same time!

IMG_20151120_173134488

I think this Spin & Giggle Puppy is so adorable! The purple bowl spins and the puppy wobbles, tossing all the balls onto the floor. Luckily it’s a gentle toss because the kids were putting every little toy they could find in there just to see what would happen.

Oh, and see that extra pack of balls? It’s a good thing they sent extras because balls disappear at my house. I think we’ve lost half of them already!

IMG_20151120_173221525

And last but not least, the Learn & Giggle Activity Station. This is so much fun for all ages. My 2yr old just picks it up and carries it to whatever room he wants to play in. Even the babies loved this one. It’s perfect for a new sitter because they can put their feet under the toy and be close enough to the toy to reach everything.

Every page in the book provides for different songs and such from the four squares on the station so there really is 65+ sounds and activities.

These toys were so much fun at our playdates and kept babies and toddlers of all ages well entertained.

I received free products in order to host the Bright Starts sponsored Play Date. The opinions expressed here are my own.

Summer with Snuggle Bear

As we’re winding down summer and starting our school year, I’m sharing one last post about summer before starting my school year series. Because I’m not quite ready for summer to end.

Snuggle has an online marketing page where you can qualify for free products and enter giveaways. Check them out here!

I received the Snuggle Bear Summer Mission, and for that mission we received a little snuggle bear in the mail. My 6yr old claimed the bear as her own, and it now resides in her bed.

I did manage to get a few pictures of Snuggle Bear hanging out with us this summer.

IMG_20150716_093704085_TOP See, she loves her snuggle bear so much, she’s bringing it on a car trip with us!

It’s actually very, very soft, and well, snuggly. And the perfect size for bringing along on trips or just playing with.

I think this was a fun marketing program by Snuggle. It let me get the kids involved and we had lots of fun taking Snuggle Bear with us.

Plus now we have another stuffed animal, isn’t that exciting! *insert sarcasm here* because I just needed one more stuffed animal in my house… At least it’s a tiny one, and well loved!

#TeamSnuggle #SnuggleSelfie #Sponsored

CSA Week 2

Here’s what came in my second CSA box. Recipes for some of these items will be on the blog tomorrow!

IMG_0681

Basil – I’m seeing lots of italian foods in my future! Did you know, basil is a spice that does better on the counter instead of the fridge. Just put it in a jar of water kind of like you would a flower, cover it lightly, and leave it out. It’ll keep longer. Not the most beautiful flower but it really does smell so good!

IMG_0689Kale, I really love kale. It’s one of my favorite greens. Plus I have a great recipe! (once again, come back tomorrow!)

IMG_0688

Lettuce, luckily we love salads around here. This is such a big head! We’ve had a great spring for lettuce growing and it really shows.

IMG_0690

More green onions, we got green onions last week as well. Apparently, it’s been a great spring for them. We don’t eat a lot of green onions so I’m struggling with what to do with them. I don’t mind them as toppings for salads, soups, tacos, etc. But no one else likes them, so I have to find a way to hide them when I cook with them. Check back tomorrow and see what I came up with.

IMG_0693

More strawberries, they didn’t last long. We ate them up within hours of getting them home. They’re so sweet and juicy!

IMG_0684

One green pepper. It’s pretty large, and looks delicious!

IMG_0683

Carrots, my 6yr old has been begging to make some carrot soup. So we did, come back tomorrow and see how it turned out!

My Disney Side Party

Thanks to Disney Parks and MomSelect for the awesome box full of Disney party supplies and sponsor products! We had a great time showing our #DisneySide!

There were several hostess gifts, A full-size box of laundry packets from All – which I’ve been wanting to try but didn’t want to spend the money and find out I don’t like it, so now I get to try it for free! Horray!

Also included was a Mickey Mouse pan and this awesome Duff Tie-Dye cake mix. Which you can purchase at Target. How did I not know about this already?!

My box was perfect! We celebrated my little girl’s 4th birthday this weekend and she wanted a Minnie Mouse party. Guess what! I got the Mickey and Friends box, she was super excited!

There was nail polish – the peel off kind, that I love for the girls – two Palace Pets, Minnie and Mickey party supplies and some fun Mickey Mouse party games like “pin the smile on Mickey”, Disney bingo, and a princess word search.

I already had her Birthday party scheduled at a local Bounce House place and I couldn’t bring food to that so I used the Minnie treat boxes to make the gift boxes for the kids that came to the party. I put in them the purple confetti that was packed in the box (it was used as packing material and purple is my 4yr old’s favorite color so this worked out really well). The Mickey Mouse Clubhouse pencils, crayons, stickers, and each child got a Mickey or Minnie luggage tag, and I assembled the Disney Diamonds and put candy in them. It made for a cute and easy treat box! I posted a video to my YouTube channel showing off my gift boxes!

The cake tower was so much fun! I didn’t have a way to integrate it into the party so we ended up using it for cupcakes on her actual Birthday and had a mini celebration on our own.

We have lots of family that lives in town, so, not to leave them out, we had another Birthday party the day after her party with friends (I know, 3 birthday parties, it doesn’t get much better than this).

I made the Mickey Mouse cake for this party. I had trouble getting the cake out of the pan – I ended up getting it out in pieces, piecing it together, and using lots of extra icing and it turned out great. Plus, everyone loves extra icing! The TieDie Cake mix is awesome! Everyone was so impressed with my cooking skills and it was so super easy! I’ll be making more TieDye cakes for parties. This is such a perfect party cake and really way easier to make than it seems it would be.

For my Sunday guests, I passed out the HP photo paper and we played the Disney games with the kids. Such fun! We had an awesome week of showing our Disney Side!

I received free products in order to host a Disney Side @Home Celebration. The opinions expressed here are my own.