The Very Hungry Caterpillar Craft

HungryCaterpillar

The Very Hungry Caterpillar by Eric Carle is a well loved favorite in my house. Even my 8yr old still loves it!

So, naturally, when I told the kids we were going to do a fun caterpillar craft, we had to read the book, about a doze time, before we could get started crafting.

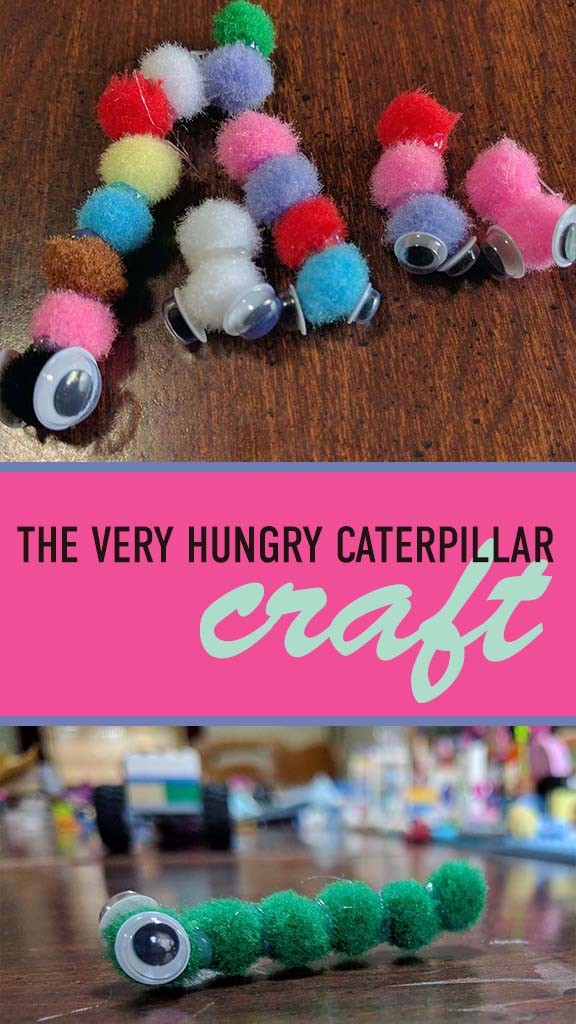
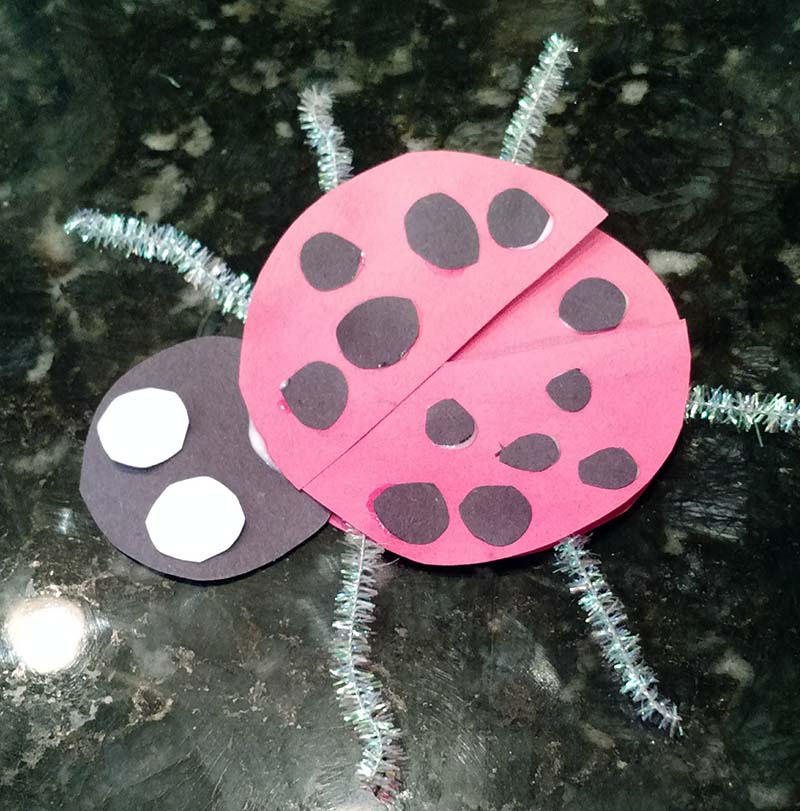
We had so much fun making these cute little caterpillars. My girls even made some to take and share with friends, because, honestly, they’re so cute!

These little caterpillars are also fast, and easy to make. For your littles, just have them line up their little pompoms in the order they want them and you do the gluing. My 8yr old was thrilled with the prospect of using the hot glue gun so she insisted on making her own.
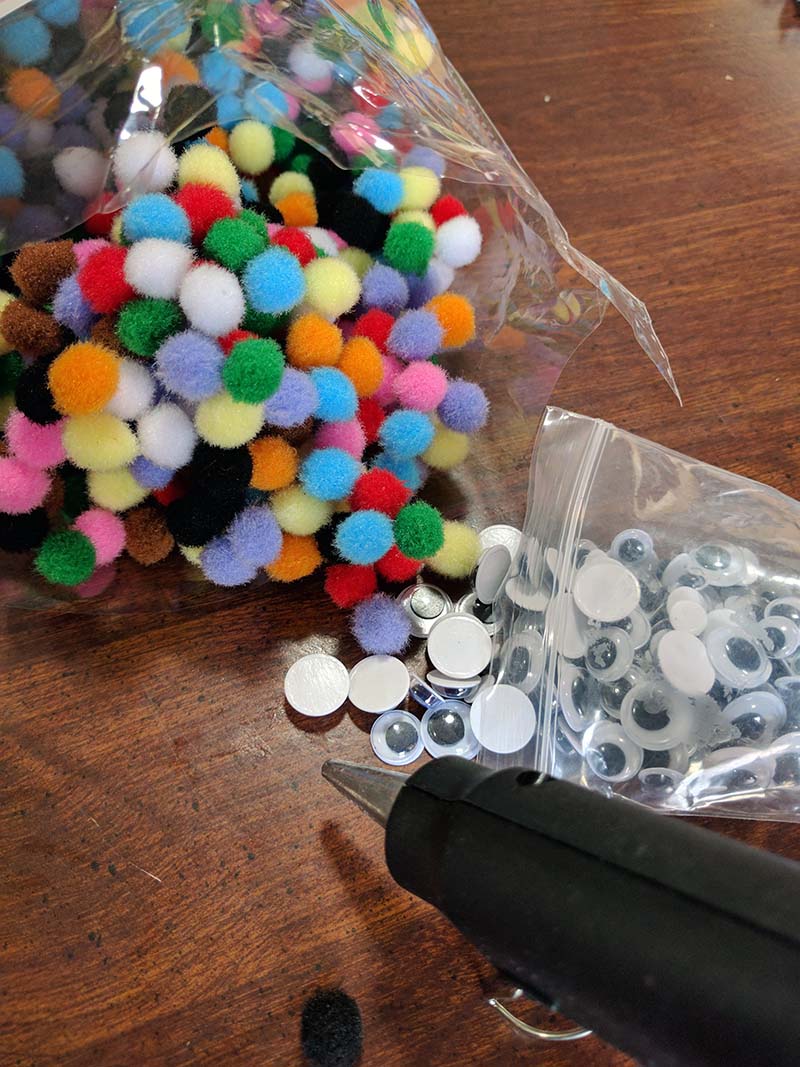
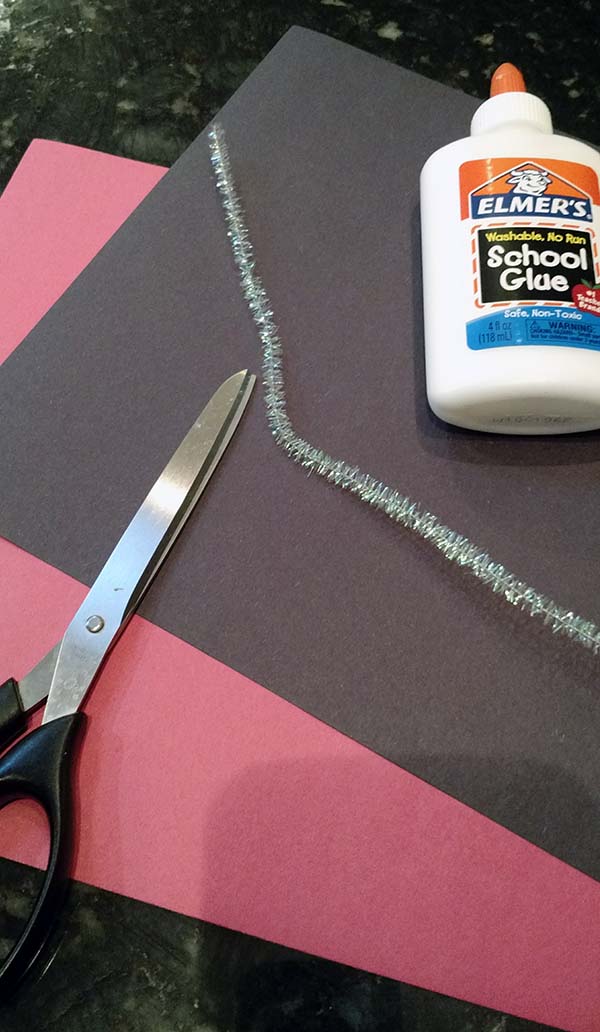
WormSupplies

Supplies:

PomPoms
Googly Eyes
Hot Glue Gun

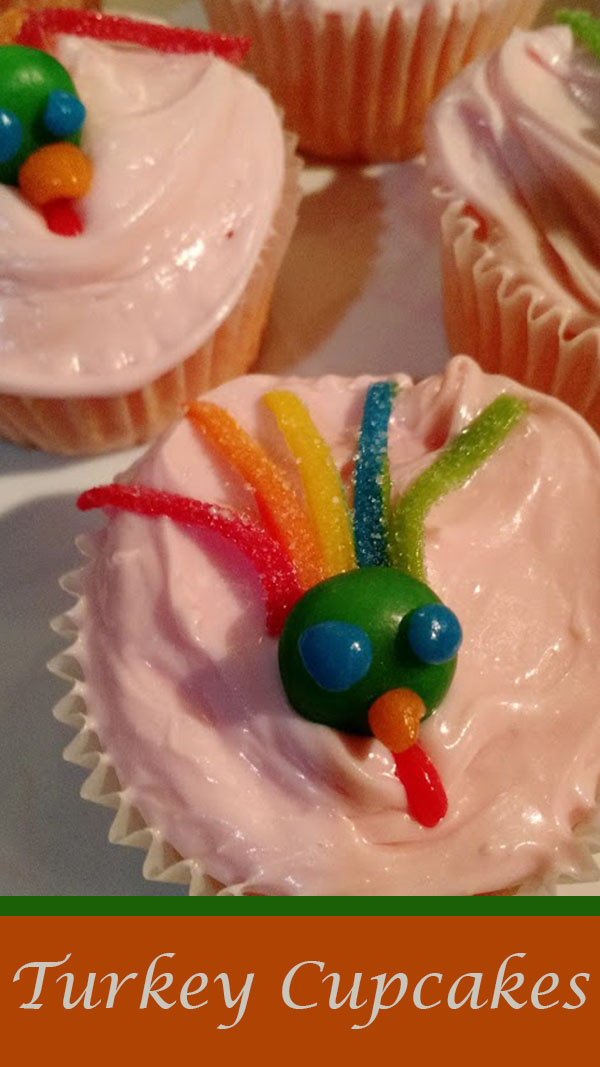
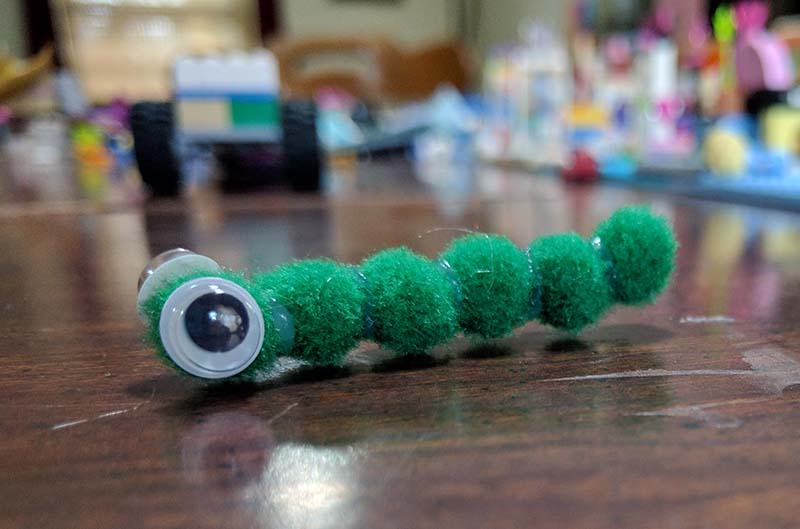
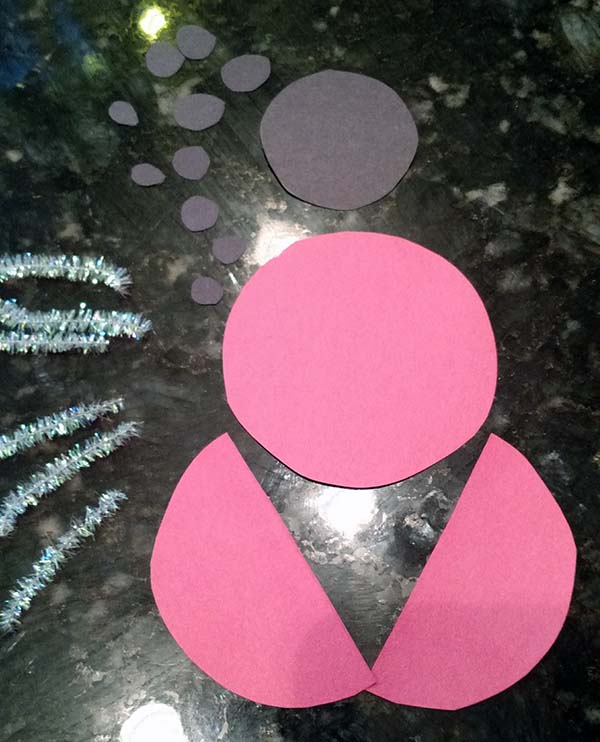
Sounds easy so far! Now, just line up however many pomPoms you want, in whatever color order you want and hot glue them together. After the glue has dried (which is super fast in case your toddler is wondering) you can hot glue gun or stick on the eyes. I prefer the glue because they stick better.

Just look at this cute little caterpillar!

GreenWorm2

How To Draw a Giraffe

IMG_20170218_144348215

Our Book for our monthly Book Craft Challenge was “Giraffes Can’t Dance” by Giles Andreae and Guy Parker-Rees. I’d never read this book so I checked it out from the library – along with the half of the library that my kids selected – and read it with the kids.

I was trying to come up with a giraffe craft to do and my kids didn’t want to do anything with constructions paper. Finally, my 8yr old suggested that we draw a giraffe. So I drew, and she drew. Her giraffe dances way better than mine! And then my 6 yr old and 3 yr old colored all my giraffe pictures.

IMG_20170218_145729426

This book is super cute and so much fun. The rhyme is great and it’s pretty short so you can read it multiple times without getting tired. My kids loved drawing and coloring Gerald!

Use a pencil, write lightly, so you can erase as needed.

Step 1. Draw an outline for the body, neck, and head. Write lightly, because a lot of these lines will be erased later.

IMG_20170218_140820140_TOP

Step 2. Add some legs. Gerald (the Giraffe) had long, gangly legs so no need to be perfect.

IMG_20170218_141009649

Step 3. Add some details. Tail, mane, horns, ear, fill out the eye and mouth a bit.

IMG_20170218_141259691

Step 4. Erase your extra lines. Aren’t you glad you drew lightly? Color in the tail, hooves and any other dark areas.

IMG_20170218_142315579

Step 5. Draw your spots, color in your giraffe.

IMG_20170218_145345218

Or, draw your spots and let your kids color in the giraffe. Be creative, My 8 yr old made her giraffe dancing.

giraffe

Check out these other fun Giraffe Crafts!

Giraffe's Can't Dance Craft - Monthly Crafting Book Club is celebrating Giraffe's Can't Dance Crafts this month with a group of bloggers and crafts to show that Giraffes CAN dance.

This post does contain affiliate links.

Ladybug Girl Craft

Ladybug Girl and Bumblebee Boy is one of my children’s favorite books. We received this book years ago as part of Dolly Parton’s Imagination Library program. Which is a program she started here in Tennessee that mails each child under 5 one free book a month. We’ve discovered some truly awesome children’s books this way!

Since I have boys and girls, Ladybug Girl and Bumblebee Boy is a great book to read to all of them together, because there’s a fun character for each of them to follow along with.

And since all my kids love dressing up, this book is just so much fun!

I was excited when I saw that my monthly crafting book club was doing Ladybug Girl this month. My kids love this book, and they had so much fun making their own ladybug.

Supplies

Black Construction Paper
Red Construction Paper
White Paper
Scissors
Craft Glue
Pipe Cleaner

LadybugSupplies

Directions

  1. Cut 2 red circles – I folded my paper in half and cut them together so they’re exactly the same size.
  2. Cut one of these red circles in half.
  3. Cut 1 black circle – about 1/3 the size of the red circles
  4. Cut many tiny black circles of varying sizes
  5. Cut your pipe cleaner into six equal pieces
  6. Cut two eyes – I folded my paper in half and cut them together so they’re the same size.

LadybugSupplies2

  1. Glue the black circle to the top of the red circle.
  2. Glue the two red half circles on top of the head, open them up as little or as much as you want for wings.
  3. Place some glue on the ends of each pipe cleaner piece and insert them between the red circle and the red half circles.
  4. Glue the eyes on the head
  5. Glue black dots on your red ladybug
  6. Let it dry before play with it

Ladybug2

This post does contain affiliate links.

Did you get a chance to see the other amazing crafts shared below by the other fabulous bloggers???


Valentine Hearts

IMG_20150302_142241017
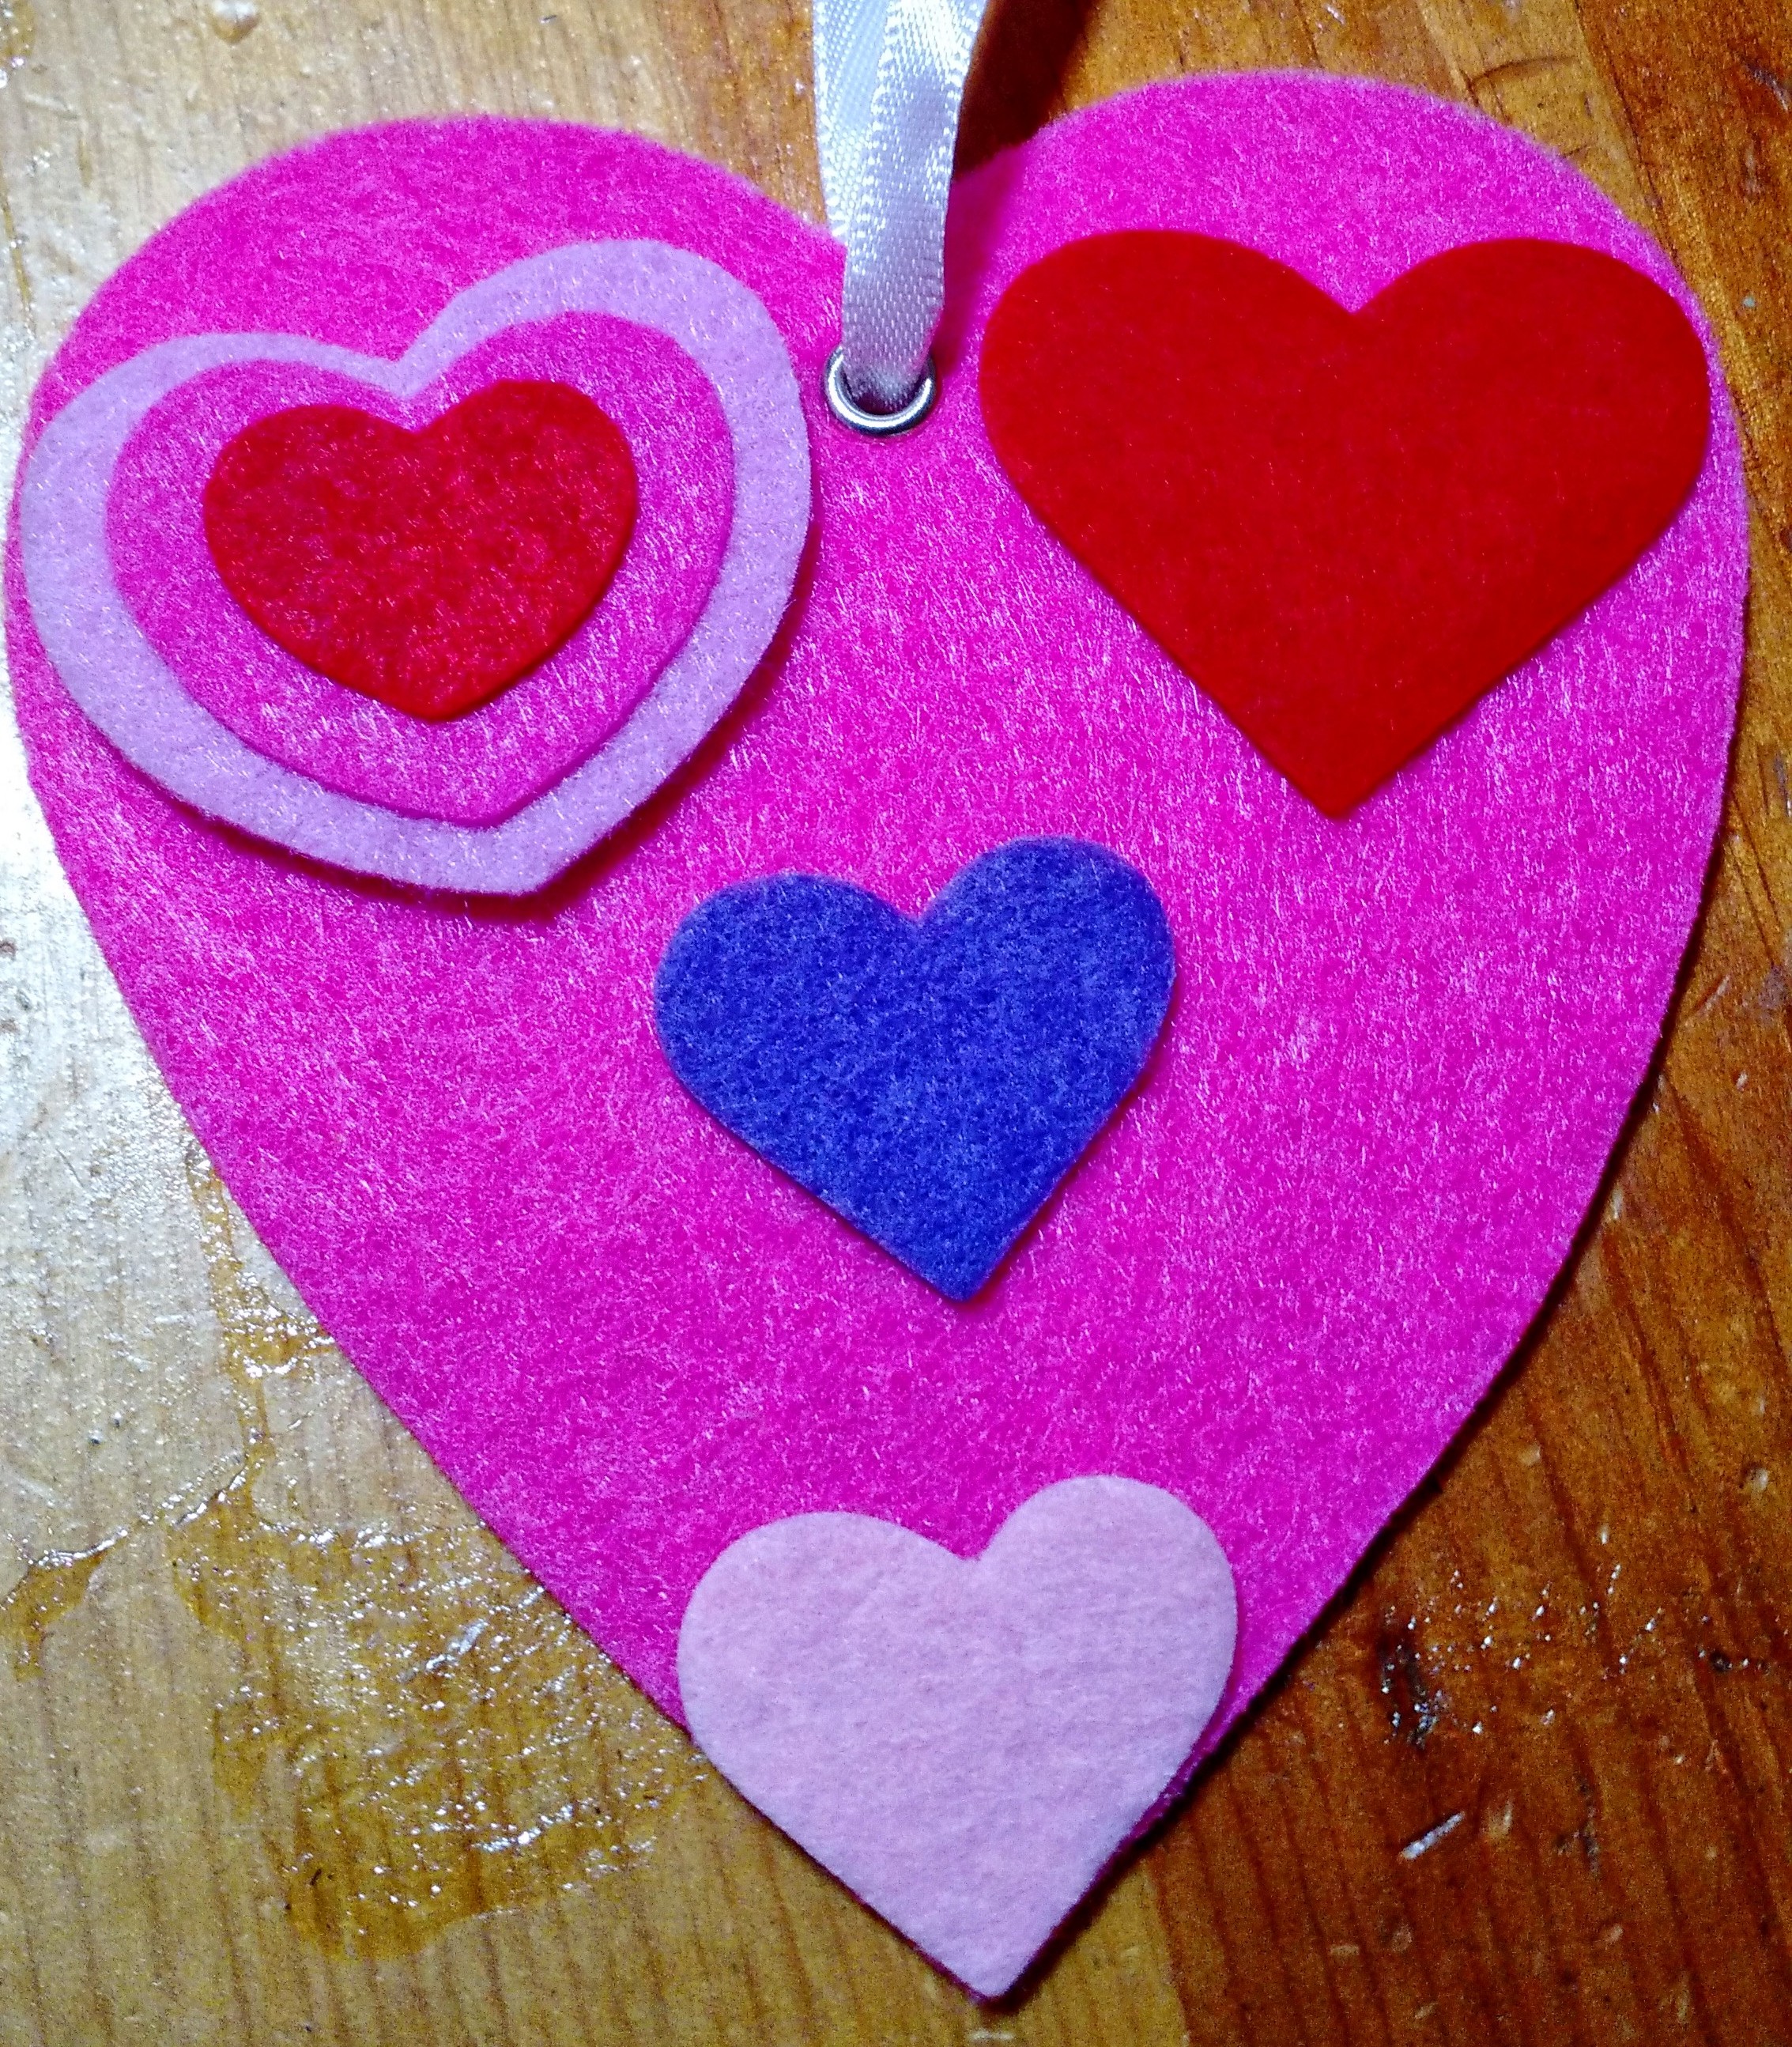
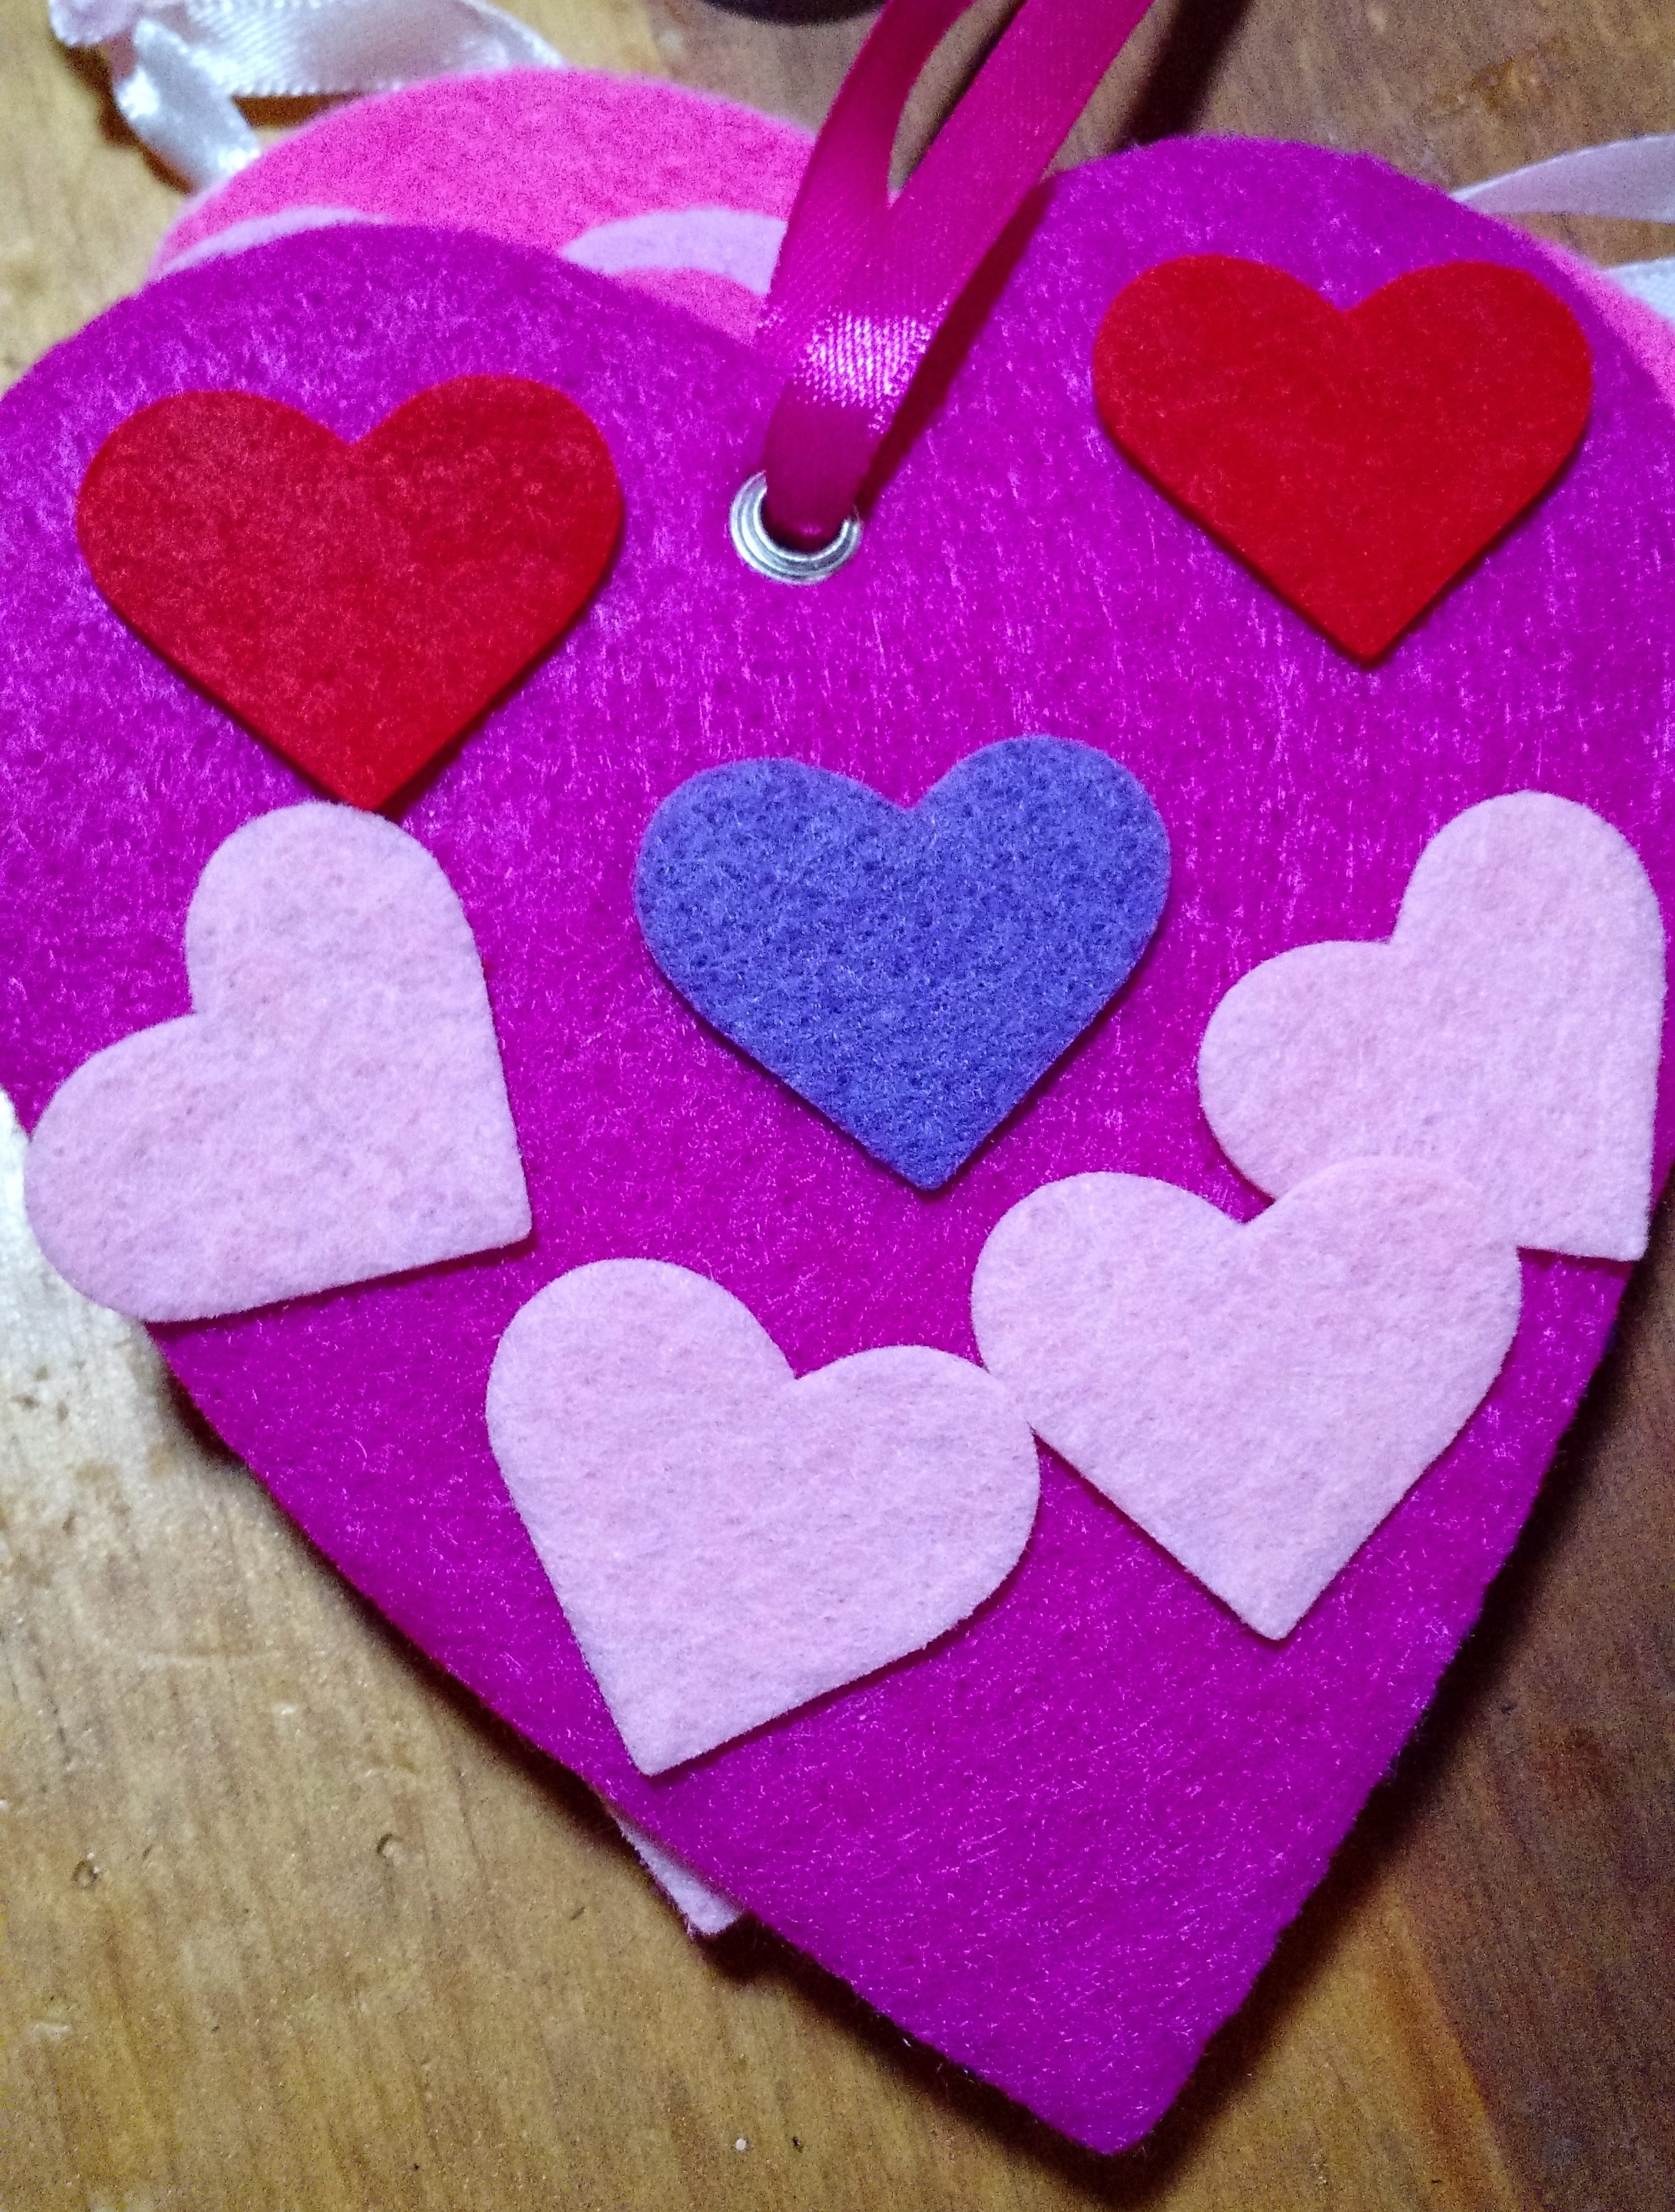
Valentine crafting with kids is always fun. For this project, I decided to keep it simple. I went to Hobby Lobby and bought some felt hearts and some felt heart stickers and the girls made their own valentine creations.

I just dumped all the stickers out on the table and let the girls create whatever they wanted. They got pretty creative, even making a smiley face heart!

These are such cute little hearts, perfect for including in teachers valentine gifts or giving to friends instead of paper valentine cards!

A tad more expensive than paper valentine cards but by the time you buy candy to go with the cards, these end up costing about the same.

I will admit though, we did still end up giving paper cards and candy to friends – because the girls just had to give candy – and special friends and teachers were given the felt hearts.

IMG_20150302_142533241 IMG_20150302_143103451

Vampirina Ballerina Review and Craft

IMG_2160

For Picture Book Month I’m reviewing Vampirina Ballerina.

Vampirina Ballerina by Anne Marie Pace is an adorable book about a little vampire who wants to be a ballerina. It encourages being yourself, trying hard, and rejoicing in your achievements.

We had a great time reading this together and then making a little Tutu craft for the girl’s barbies.

Supplies

Rickrack or ribbon – small pieces will do

Tulle – about 1 yard

IMG_21421. Start by measuring your rickrack. You want it to be about 1 foot long for a barbie doll.

2. Next cut your tulle into 1/2 inch X 2 foot strips. You can trim these later if the skirt is too long.

IMG_2149 3. Lay your rickrack out flat and tie your tulle strips onto it making a knot in the middle of your tulle (around the rickrack) Keep adding tulle until your skirt is nice and floofy.

You want to cover about 1/3 of your rickrack in tulle. The extra ends are going to be used for putting the skirt on your doll.

Once you have all your tulle on your ribbon or rickrack wrap it around your doll and tie a bow in the back.

IMG_2151

The girls had a blast making little tulle ballerina skirts for their dolls!

IMG_2158

Turkey Cupcakes

turkeys

Many thanks to Airheads and Smiley 360 for the awesome free box of Airhead candy to make some fun holiday snacks with!

This project was way easier than it looks! Even the kids made some.

With Thanksgiving coming up, my thoughts turn to turkeys. And even the best roasted turkey isn’t as sweet as these.

Turkey Cupcakes

Cupcakes of your choice. I just made a box mix.
Icing of your choice. I just used the pre-made icing
blue, orange, and red Airheads
1 bag of Airheads bites
1 bag of Airheads Xtremes

Bake, cool, and ice your cupcakes.

imgresHead: Open your bag of Airhead Bites.

Eyes: Open your blue airhead and cut off two tiny pieces. Roll them between your fingers into tiny balls and press them onto an Airhead bite for the eyes.

Beak: Open your orange airhead and cut of a small piece. Roll it into a ball and then make one end pointy for the beak, press this onto the airhead bite.

Gobbler: Open your red airhead and cut a small strip off the top edge. Fold it in half to make it a little thicker, press together, and then press onto the bottom of your airhead bite under your beak.

Set your turkey head in the middle of your cupcake.

imagesTail: Open your airhead Xtremes and cut off a piece about 1 1/2 inches long. Using a pair of clean kitchen scissors carefully cut between the colors. DO NOT cut all the way to the end of your Xtreme piece. Leave about 1/4 inch uncut at the end.

Fan open your colorful tail feathers and place the 1/4 inch uncut edge right behind your turkey head on the cupcake.

And, you have an adorable, tasty, turkey cupcake.

As a side note, I put these in a cake holder overnight and the moisture from the icing “melted” the candy a little bit so if you make these the day before, you’re going to want to refrigerate them overnight or wait and put the turkeys on at the last minute.

I received this product free for purposes of my post, all opinions are my own.


My New Etsy Site

I have finally opened my new Etsy site. If you’re not familiar with etsy it’s an online site where individuals can sell vintage items and/or handmade items made by themselves. You can rate the sellers once you purchase from them so it’s pretty easy to see if you’re purchasing from a reputable seller or not. I’ve made several purchases off of this site and never had any trouble at all. Most people are happy to make a sale and want a good rating so they can make more sales so they’re going to make sure you’re happy.

I also have so much fun just browsing the site and looking at all the cool stuff people have made!

If you want to see what I’m selling without going to Etsy you can see it on my blog here.

I have a few more things planned that I haven’t posted yet, some hairbows for little girls, bibs, burp cloths, baby quilts, and more! I’ll be posting updates as I get those finished and for sale.