Cherry Dress

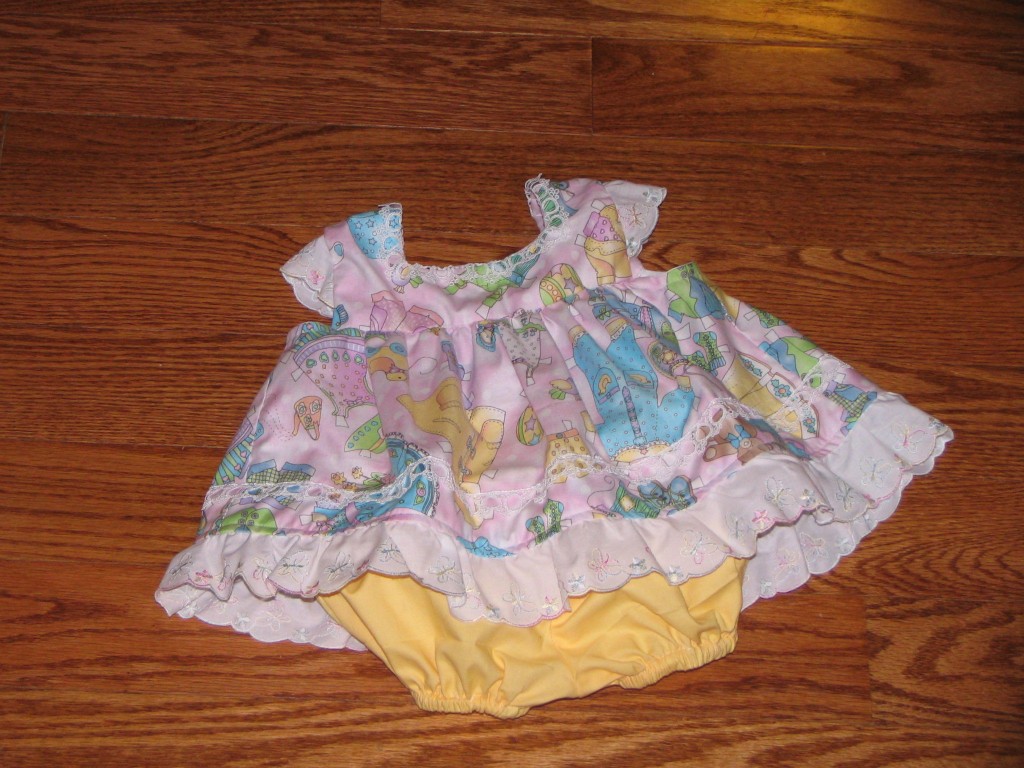
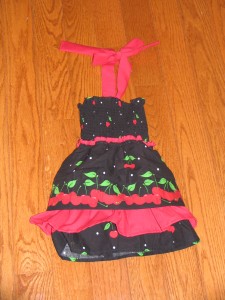
My latest dress for my baby. It’ll be a tad long on her, but she’s not walking yet so it doesn’t really matter. And it should fit her for a little while. (probably until after she’s walking)

I had a small piece of that pre-pleated fabric that I used. There was just enough for the dress. I cut off the bottom, because it was too long and made it a 3 layer dress by hemming the piece I cut off and adding a red layer between the two black layers.

Also, at a children’s consignment sale the other day I got a cherry dress for my toddler. The girls will be so cute in their cherry dresses!
Retro Pattern Dress

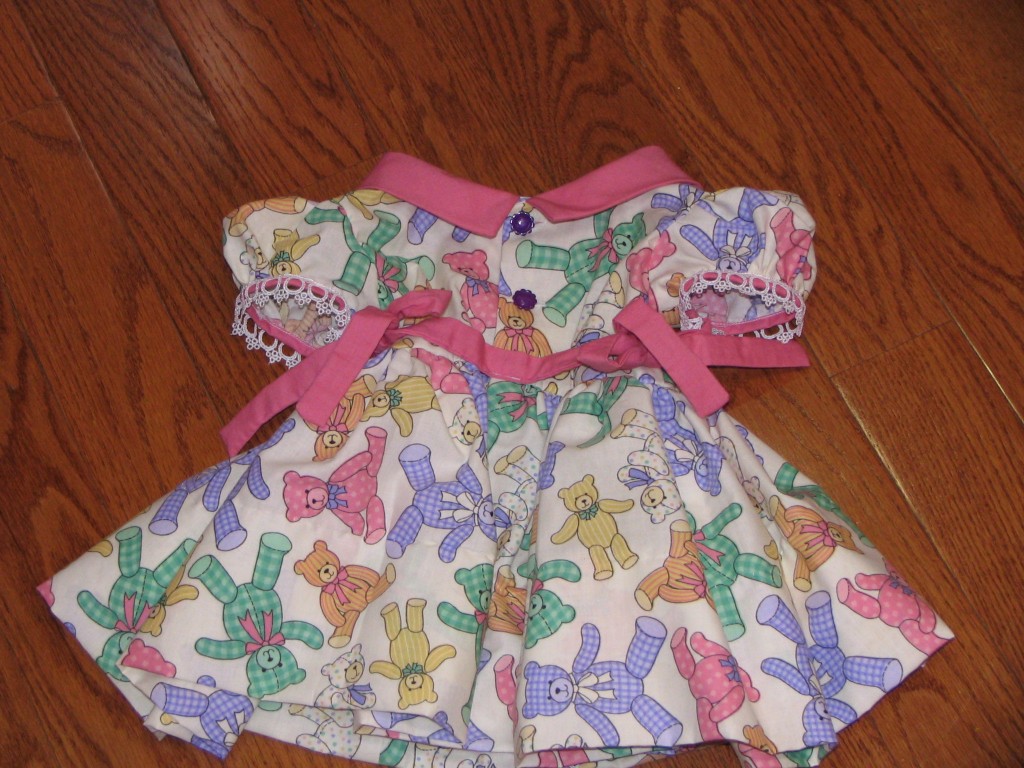
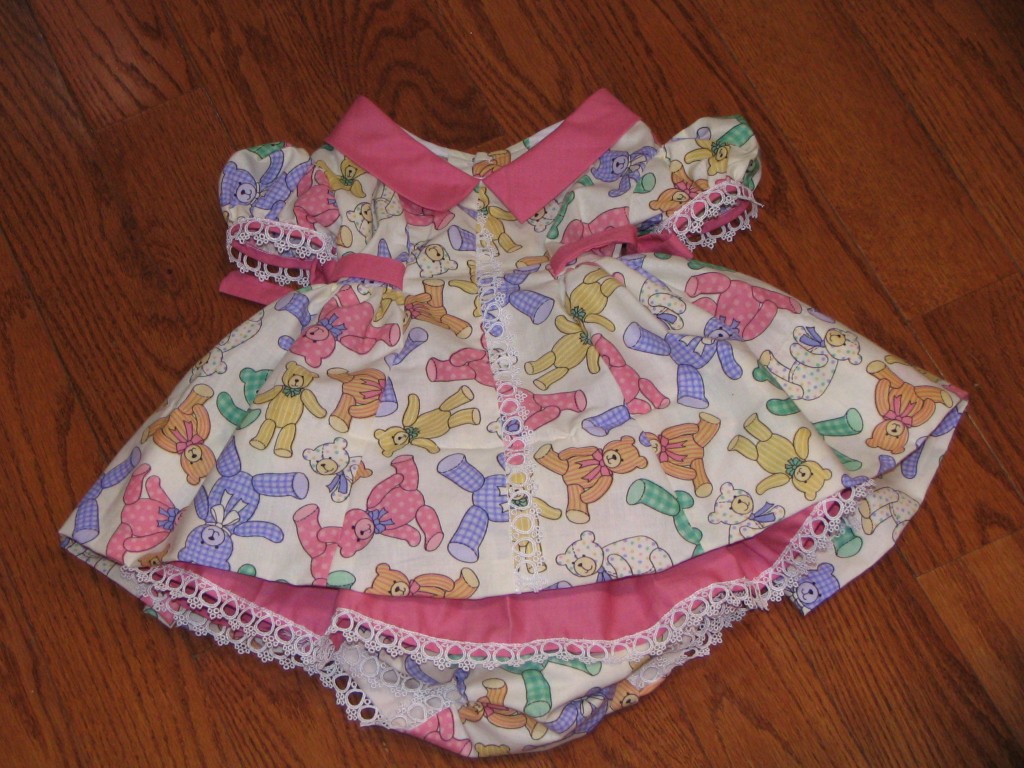
I made this dress from an old retro pattern.

Front

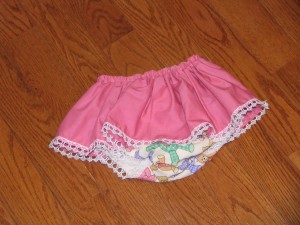
Back

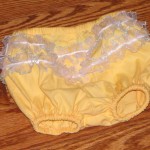
I absolutely LOVE the little bloomers!

I’ve used a couple of old patterns recently and I’ve found several key differences between newer patterns. First of all, the old patterns seem obsessed with seam binding, and buttons. New patterns usually do a lining instead of seam binding, and at least some of them use zippers.

Then, there’s the 3″ hem, on a 12mo. dress! The hem is practically as long as the dress! Almost all the new patterns I’ve used have only had a 1/4″ hem. And since this dress has bloomers with an attached skirt I couldn’t change the dress hem length or you would never be able to see the bloomers.

And, of course, the pattern called for a LOT more handsewing than I usually like to do. I, of course, did it on the machine and not by hand. The pattern wanted me to handsew all the lace on the sleeve, plus most of the seambinding.

I just loved this pattern though, it’s very unique and though very time consuming. Was definitely worth every minute!

Quilts

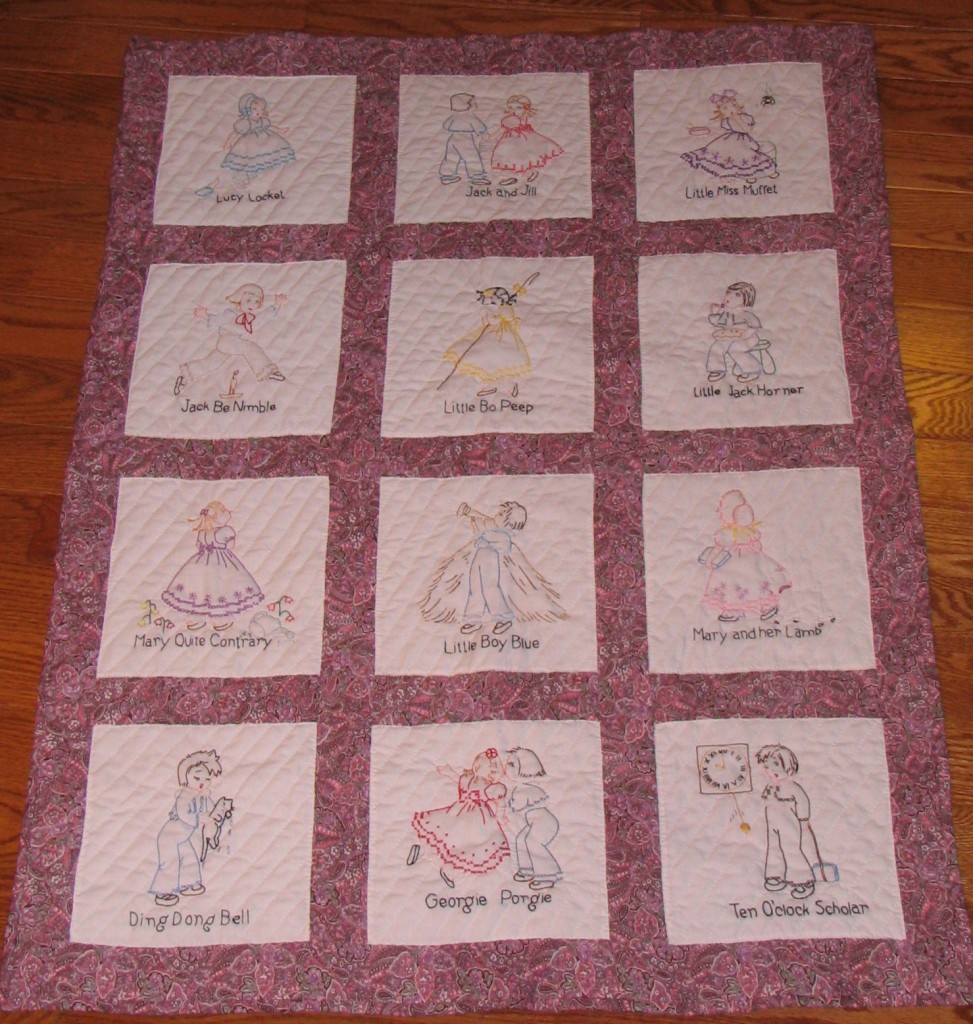
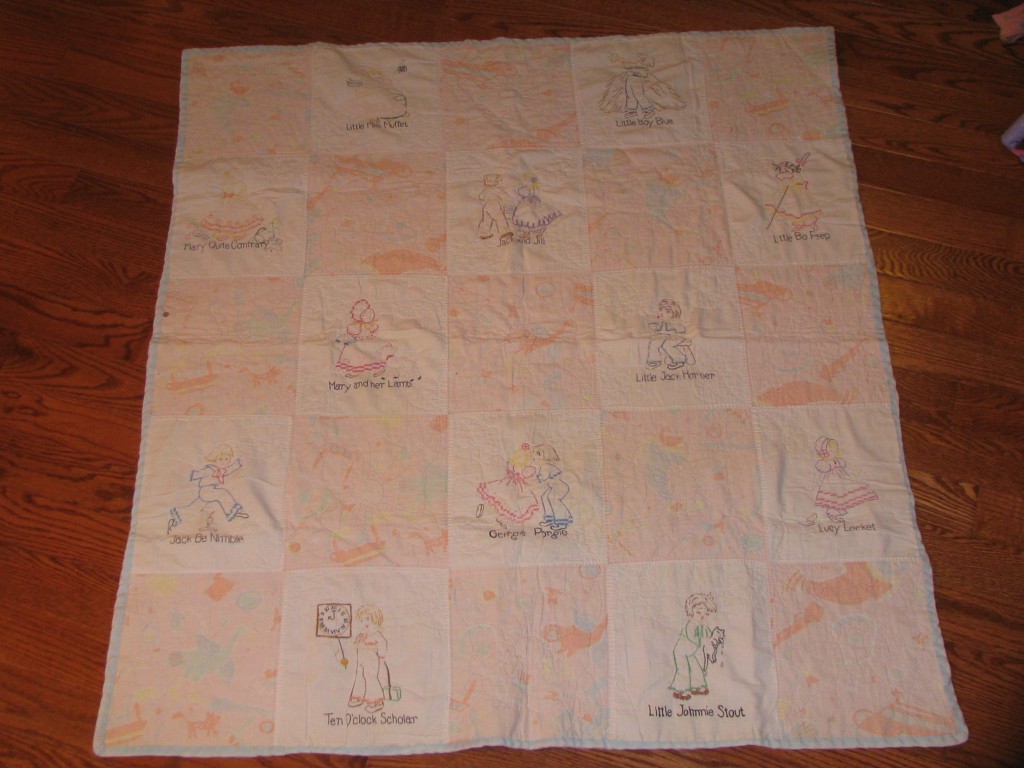
The other day my grandmother gave me a gift for my new baby. A baby quilt. The exciting thing is, this is just like the quilts she made for me and my sister when we were born.

I practically wore mine out, but I still have it! She hand quilts and I’m always amazed by her attention to detail and her patience with all that hand sewing!

New Quilt
Old Quilt

Bags

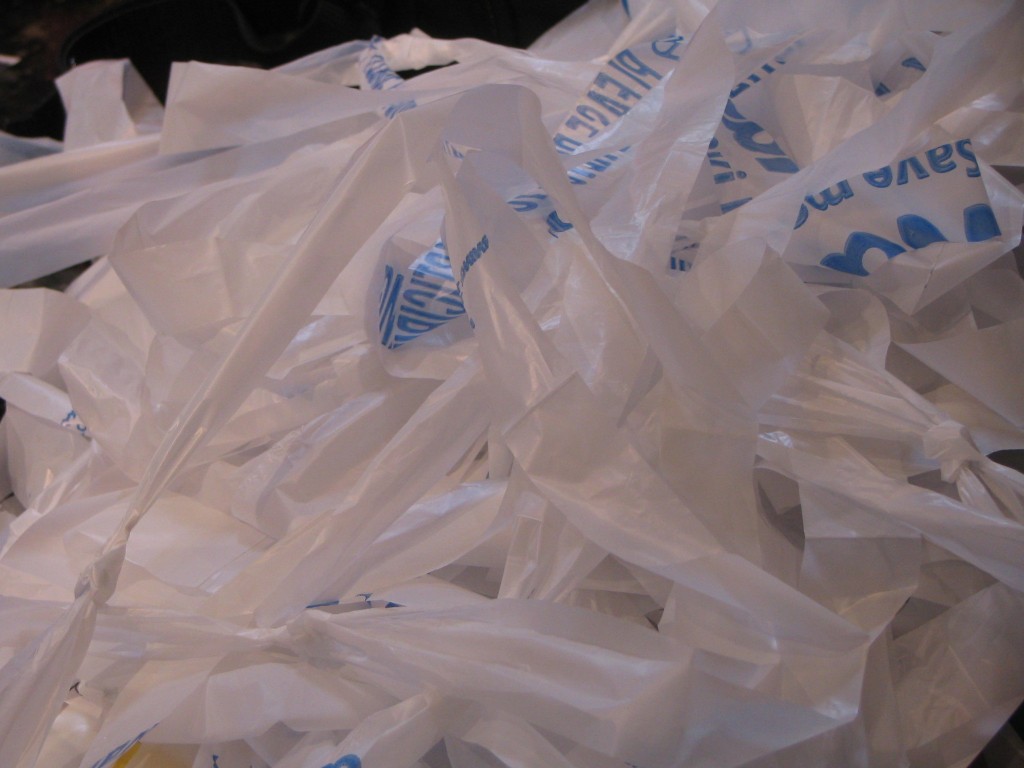
I’ve always wanted to crochet a bag out of plastic grocery bags.

A few weeks ago there was this post going around on Facebook where you make something for the first five people to post. Two of those people I’ve promised bags to. So, now I have a great excuse to try out this project.

I’m still in the process of collecting bags. It’s supposed to take about 60 bags to make a tote. I have about 10 so far. So as soon as I have 50 more bags and a giant crochet hook I’ll get started.

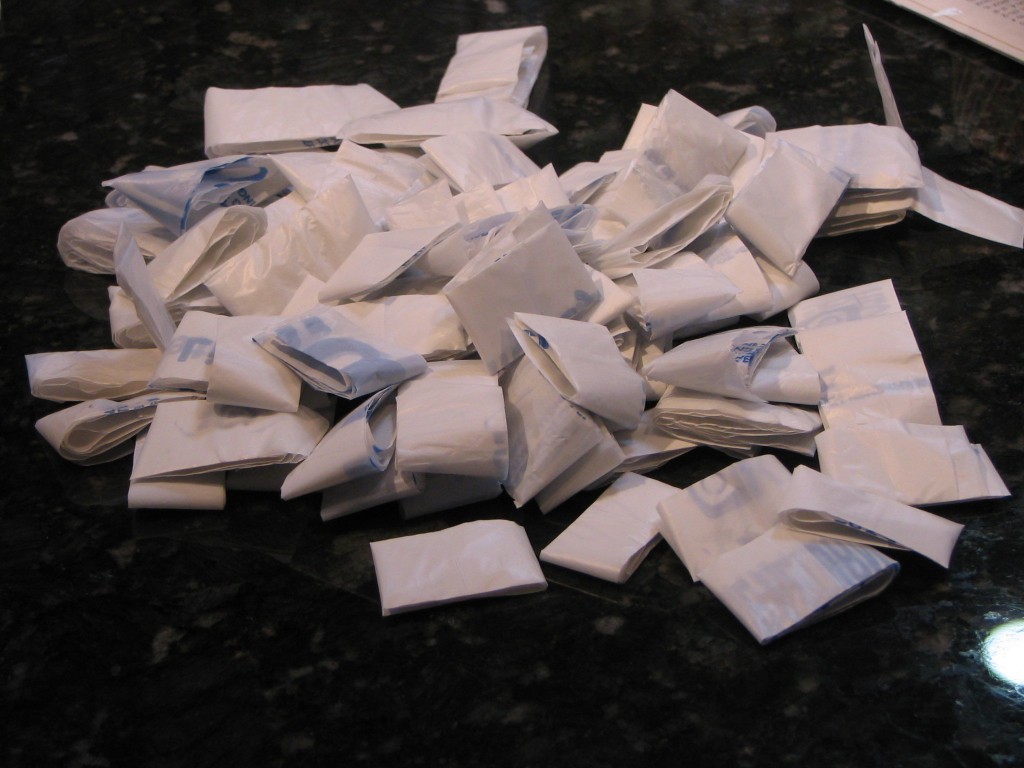
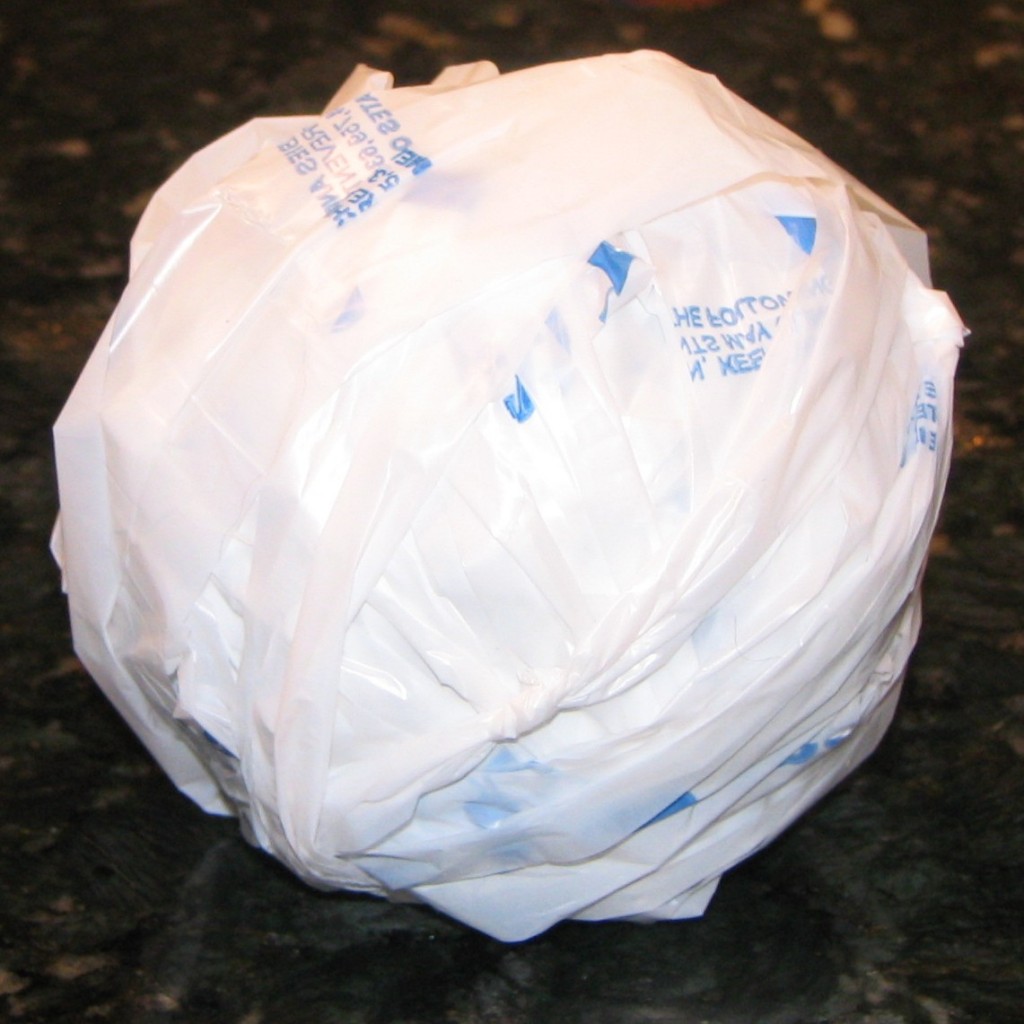
You start by cutting the bags in strips and tying them together. This is a pile of 8 bags I was working on.

It’s a LOT of plastic bags! I’m rolling mine into balls and separating them by bag color. All white bags in one strip and all brown in another.

I can’t wait to start crocheting!

Dancing Bear

My toddler was excited about wearing these pj pants when she found them in her drawer…  unfortunately, there was no matching shirt. Sooooo…major toddler meltdown. Refused to take the pants off, and refused to put a shirt on. I finally coaxed her into an old pink t-shirt and decided to hide the pants before the next evening.


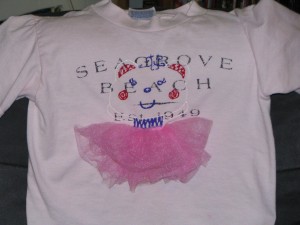
With as much as she loved the pants and hated the t-shirt (because it didn’t have a dancing bear on it). I decided to fix the problem. Some fabric paint and scrap tulle and now, I have a dancing bear shirt to match the dancing bear pants! And…one very excited toddler!